Wormhole Transfer and Orca Pool Guide
This is a step-by-step guide on providing liquidity to the following Orca Pool - stSOL-wstETH to earn more rewards. wstETH is an ERC-20 token and therefore this guide also contains the instructions to transfer wstETH from Ethereum to Solana ecosystem using Wormhole V2 bridge
This first-of-its-kind liquidity pool is a very cool DeFi product! Not only is it composed of two staked assets earning staking rewards, but it also has one of these bridged over to Solana from Ethereum in a decentralized way, highlighting the power of cross-chain DeFi!
You can learn more about wstETH on the lido blog.
Once wstETH is bridged over Wormhole to Solana you can easily use that to add liquidity to the stSOL-wstETH pool
Step-by-step Guide
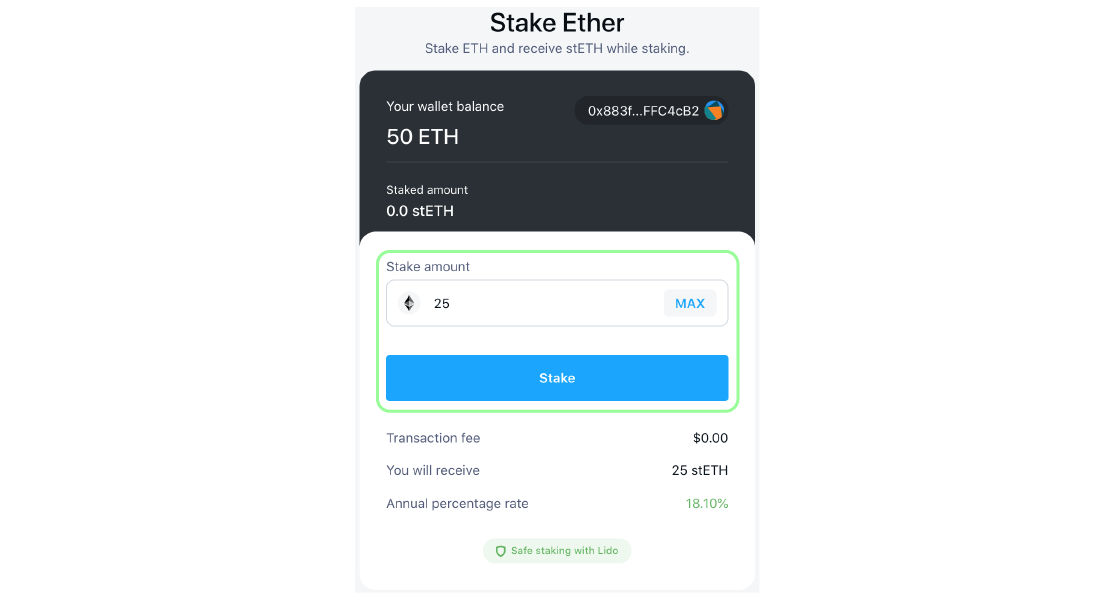
Step 1: Getting stETH
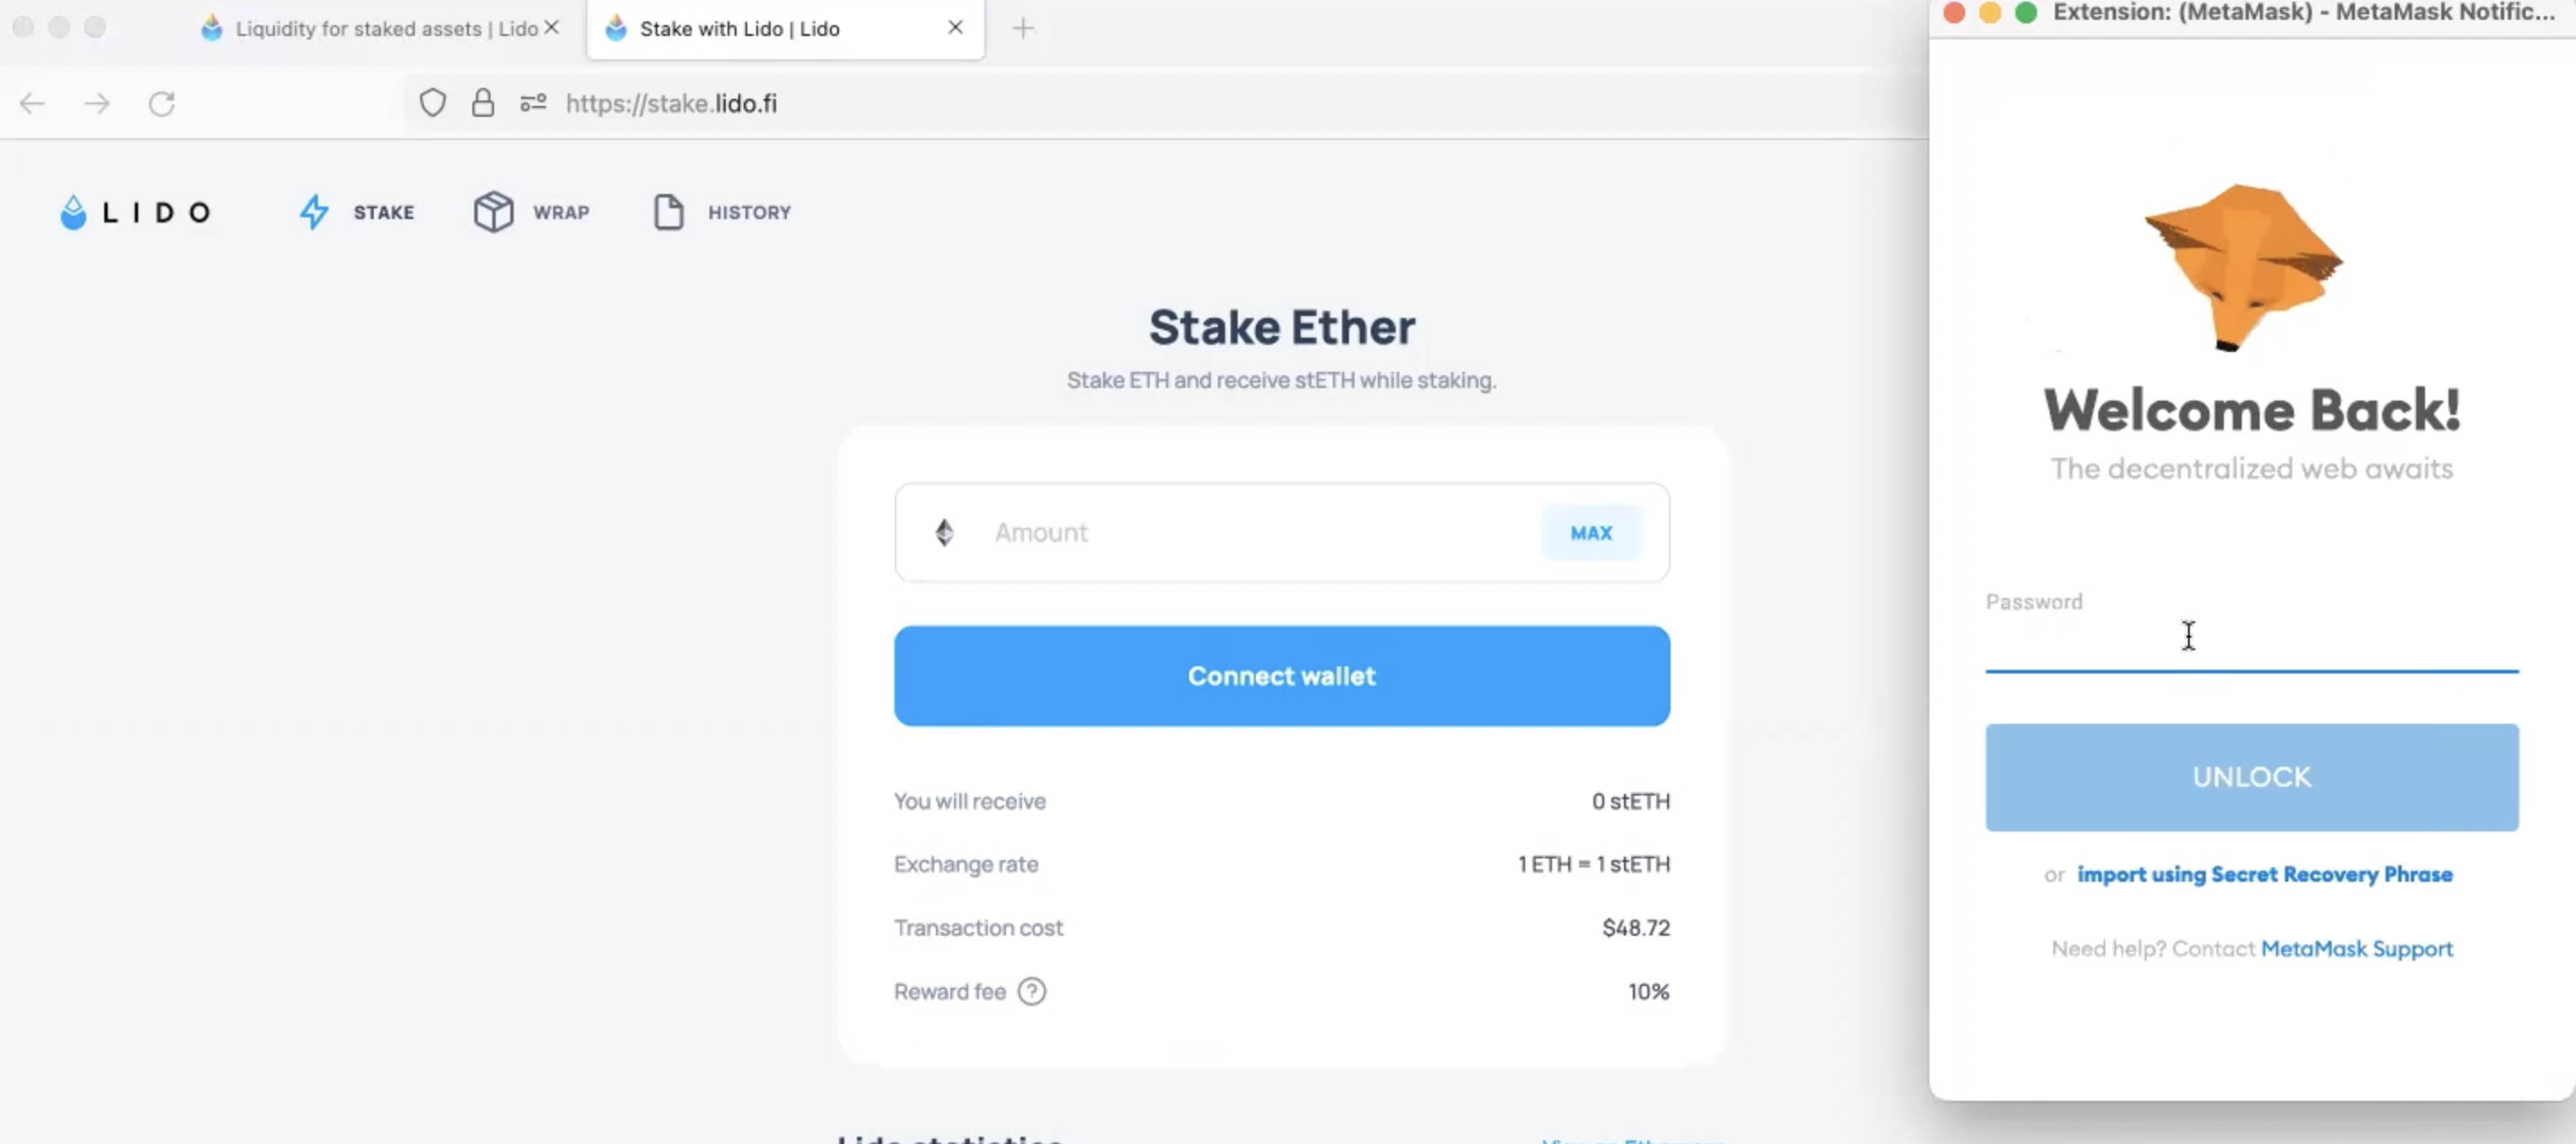
If you do not already hold ETH please purchase some ETH and deposit it in Lido to get stETH. Visit https://stake.lido.fi/, connect your wallet, enter the amount of ETH you want to stake and receive stETH tokens after staking.
If you stake 1 ETH in Lido, you will get back 1 stETH
Step 2: Wrapping stETH to get wstETH
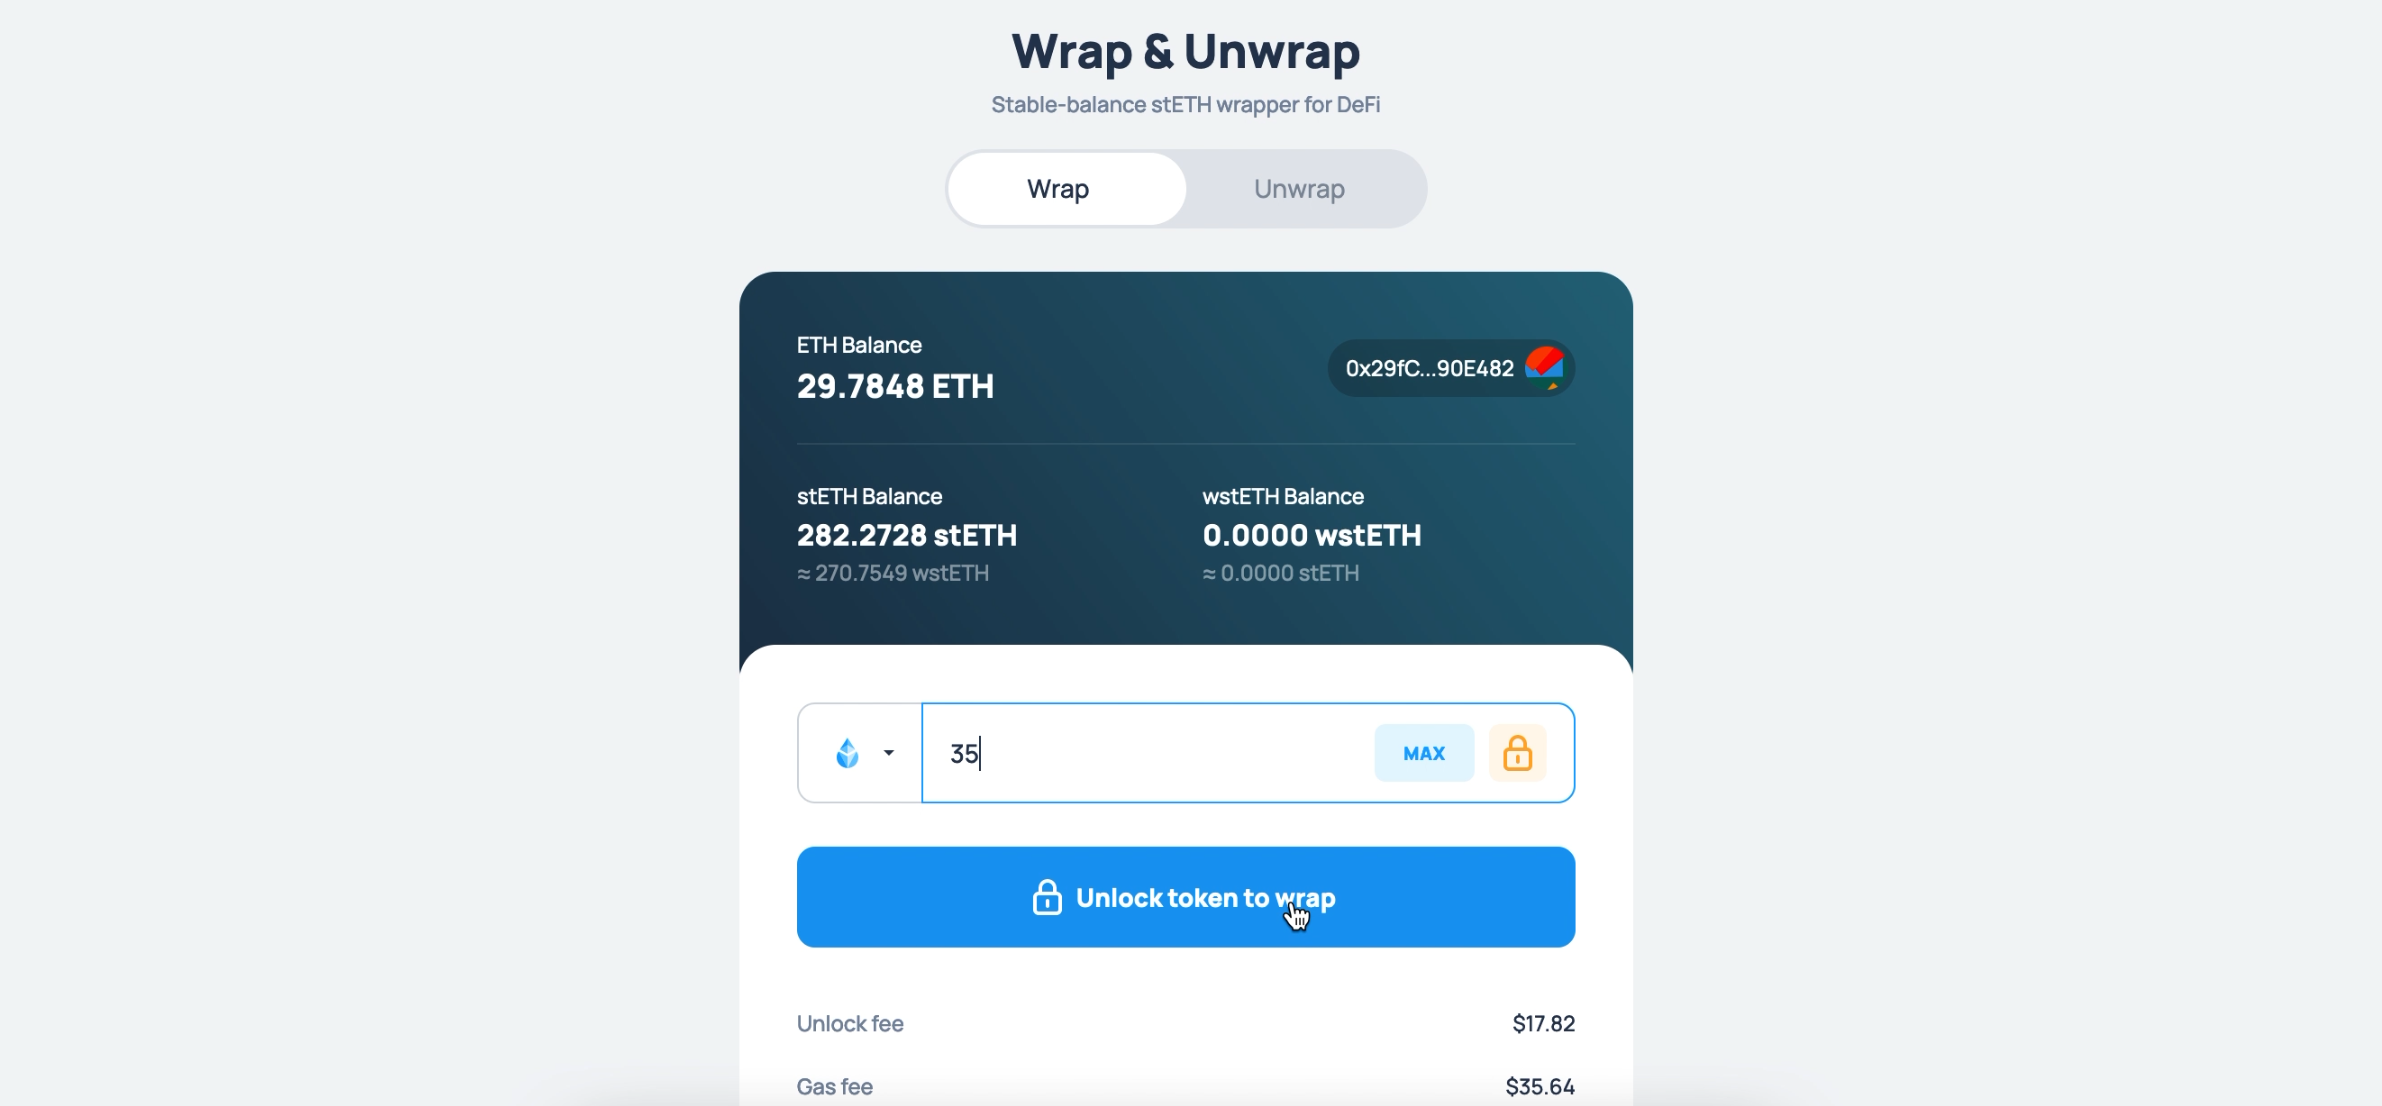
stETH can be wrapped by visiting https://stake.lido.fi/wrap. Once on this link connect your wallet if it is not already connected
Enter the amount of stETH tokens you want to wrap. You will first have to approve the Lido contract to wrap these tokens - the button will display Unlock token to wrap. Click on Unlock and approve in the wallet.
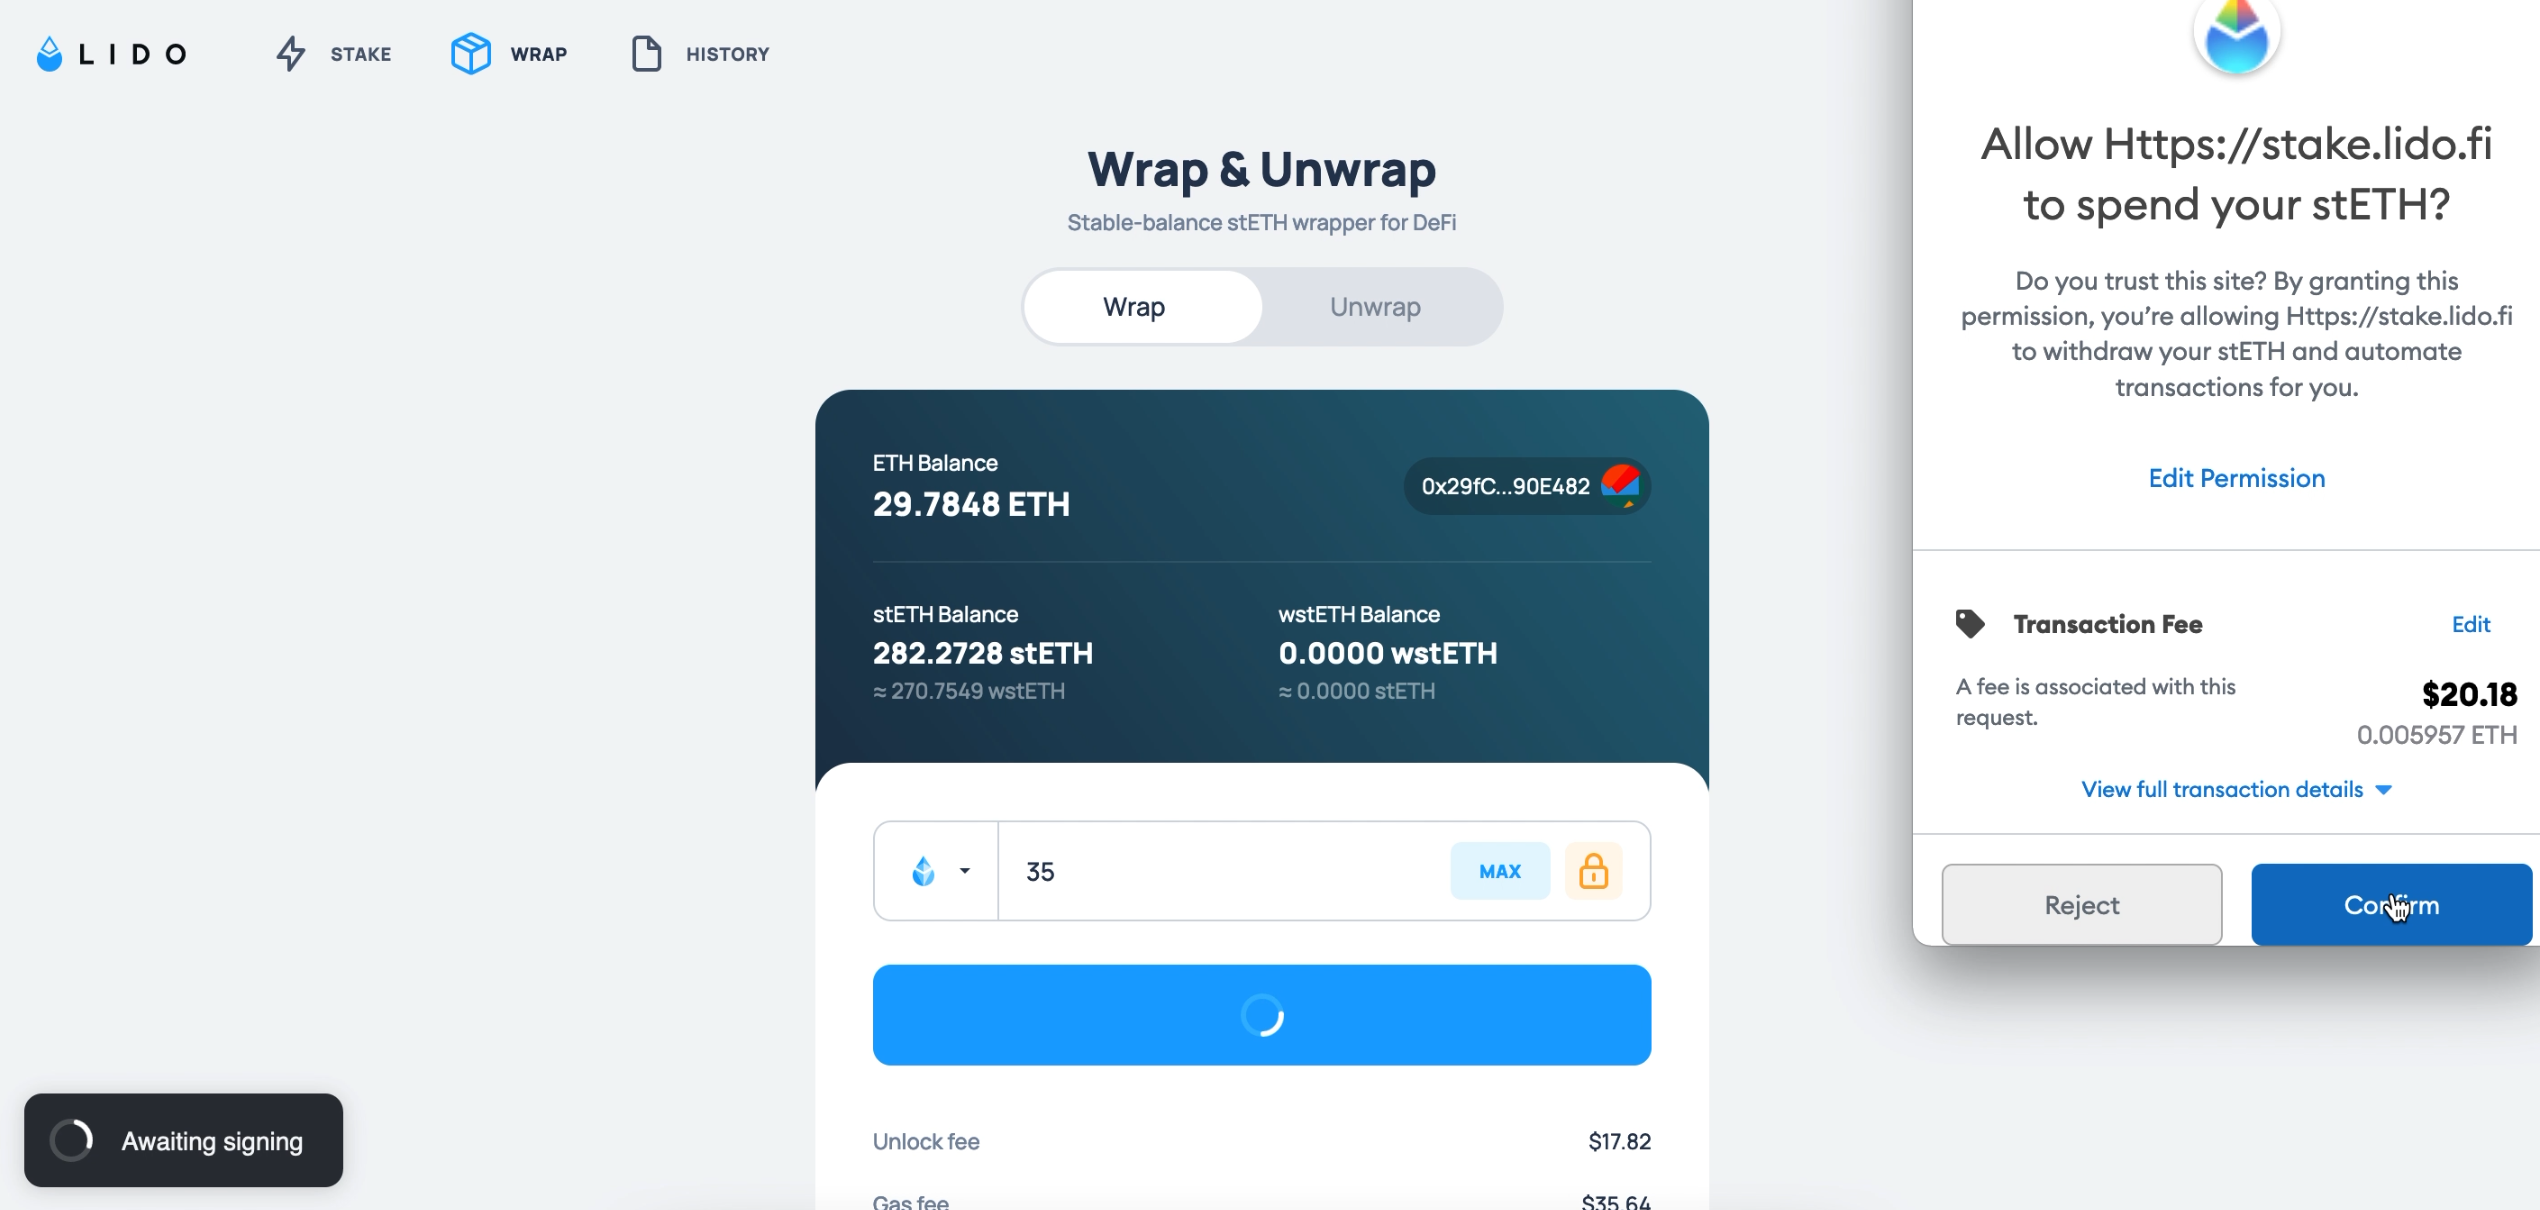
Once the approval is successful, again enter the same amount of tokens and click on Wrap. Once you sign the transaction in your wallet, your wallet balance will start reflecting wstETH tokens
If you enter a higher number to Wrap, than what you approved, you'll be shown the Unlock button again and you will have to approve this higher amount again. However, you can always wrap an amount lower than what you approved.

Step 3: Connect Ethereum wallet to Wormhole V2 Bridge
Now that you have wstETH it is time to bridge them over to the Solana ecosystem. The first step in that direction is to visit the Wormhole Bridge. Under Source select Ethereum as the chain and click on Connect
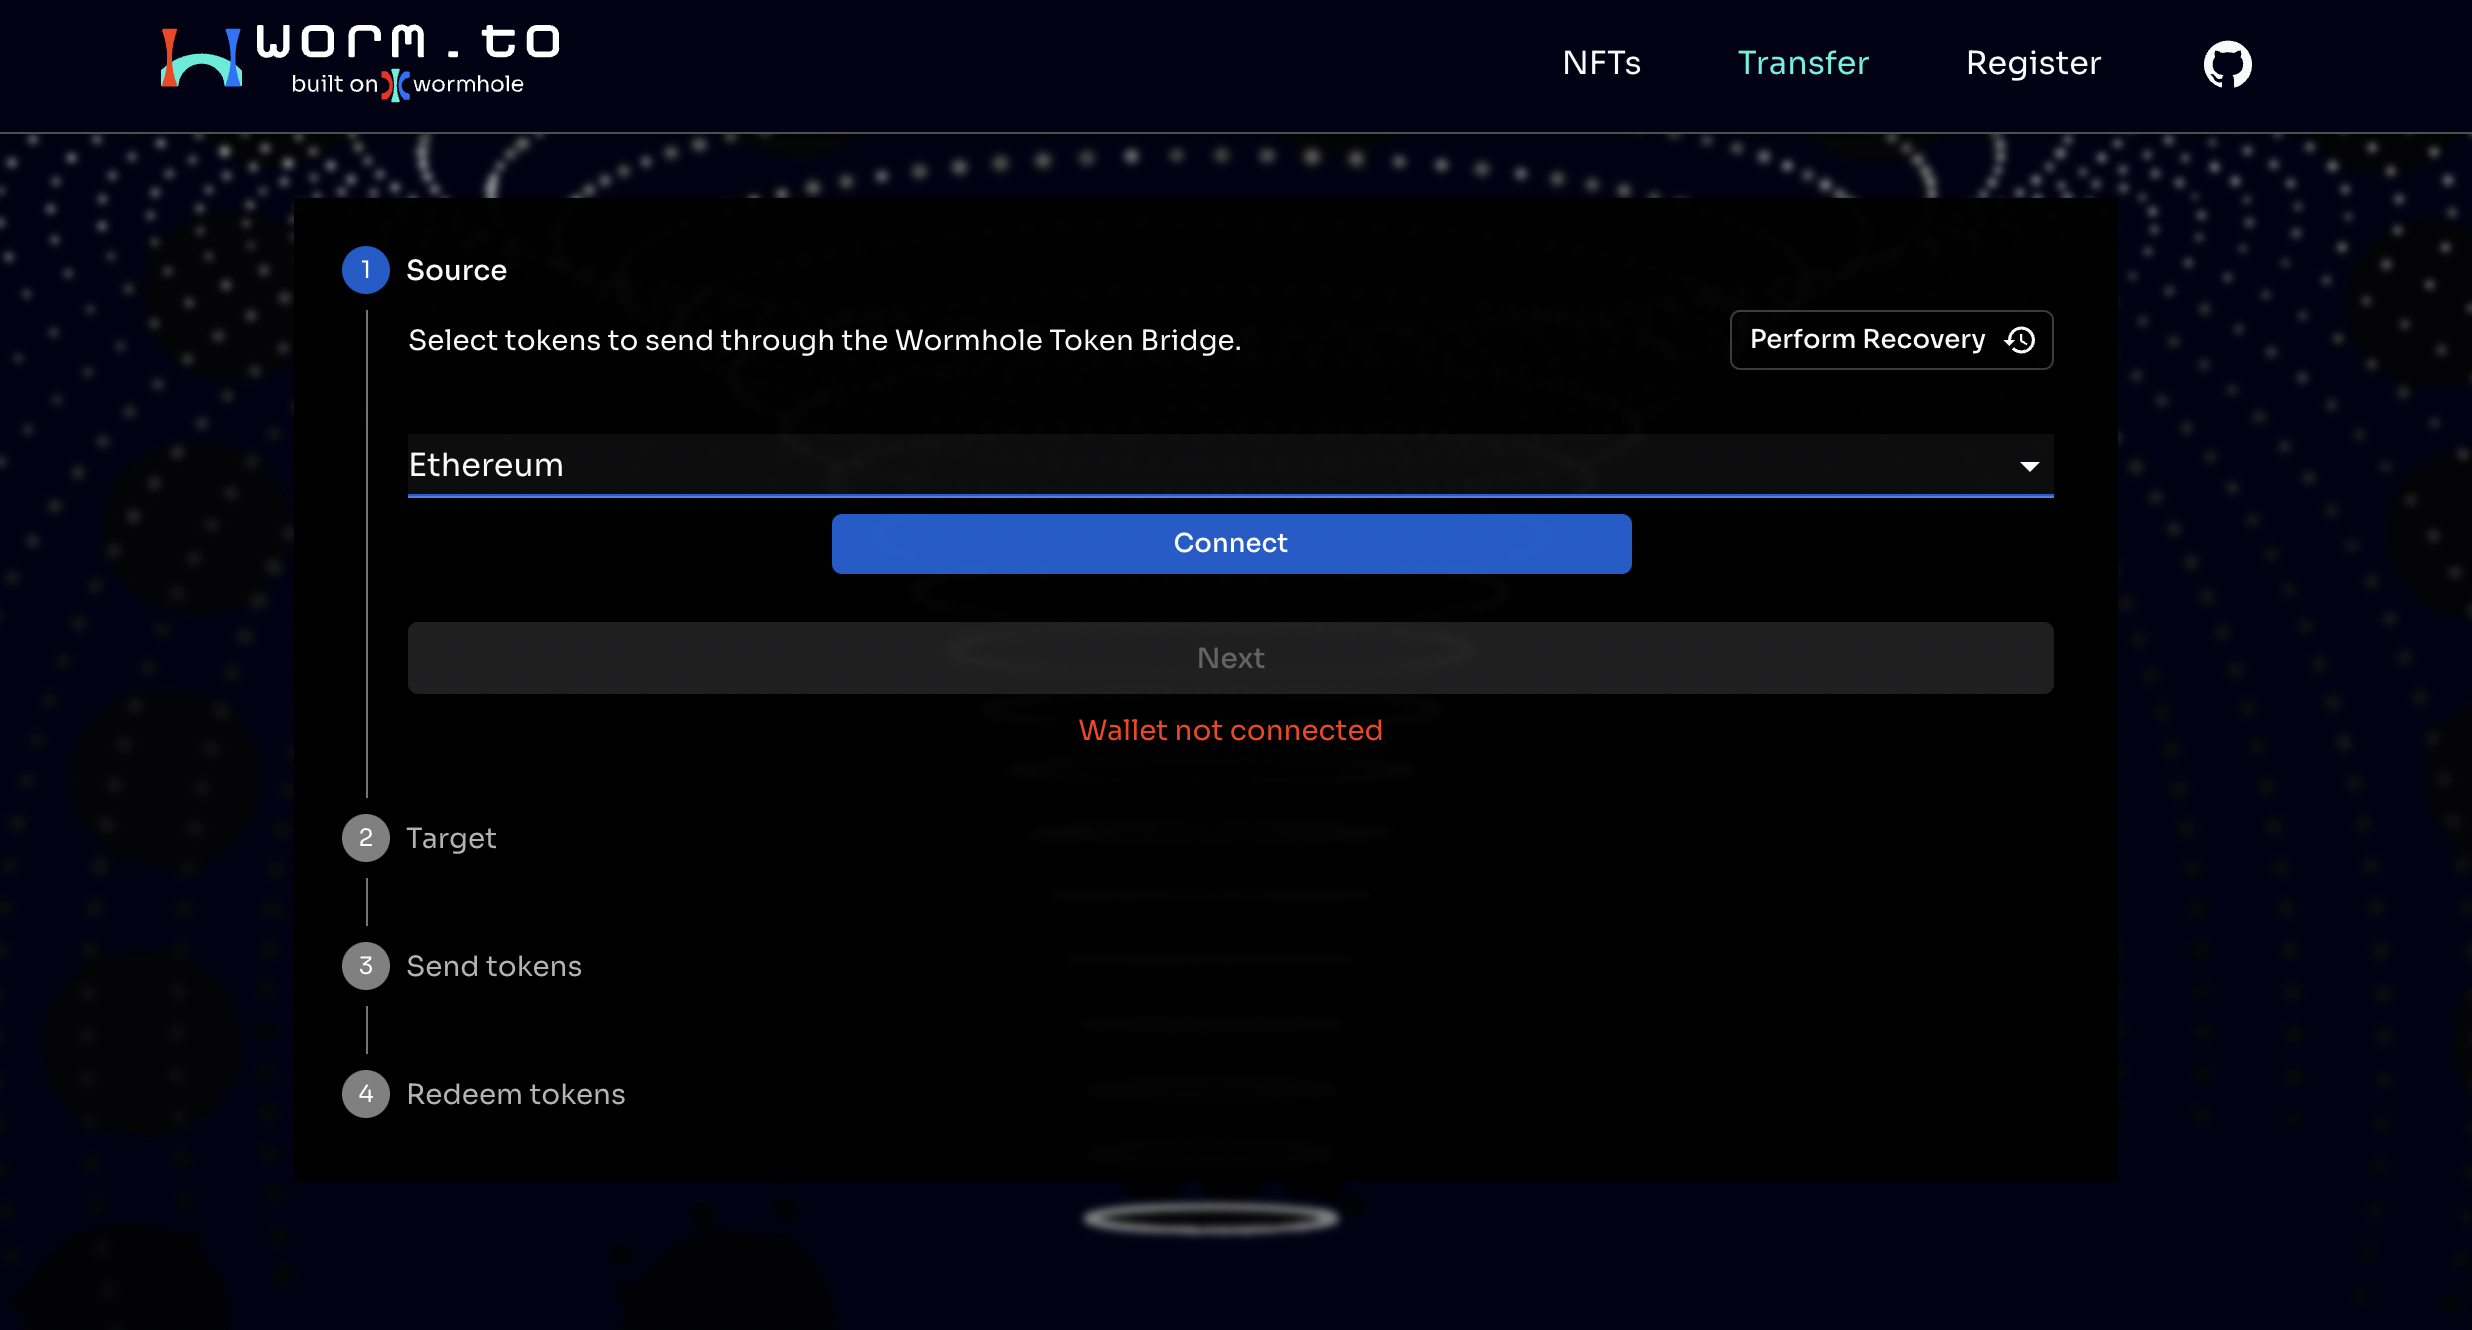
Your wallet screen will pop-up. Upon successful connection you should see your ERC-20 address on the Disconnect button.
This process of bridging your wstETH from Ethereum Blockchain to Solana, requires various transactions to be approved in your Ethereum wallet. Make sure you have enough Ethereum to pay for gas fee. In total these transactions can potentially cost roughly between $50-200 in gas fees depending on the conditions on the Ethereum mainnet.
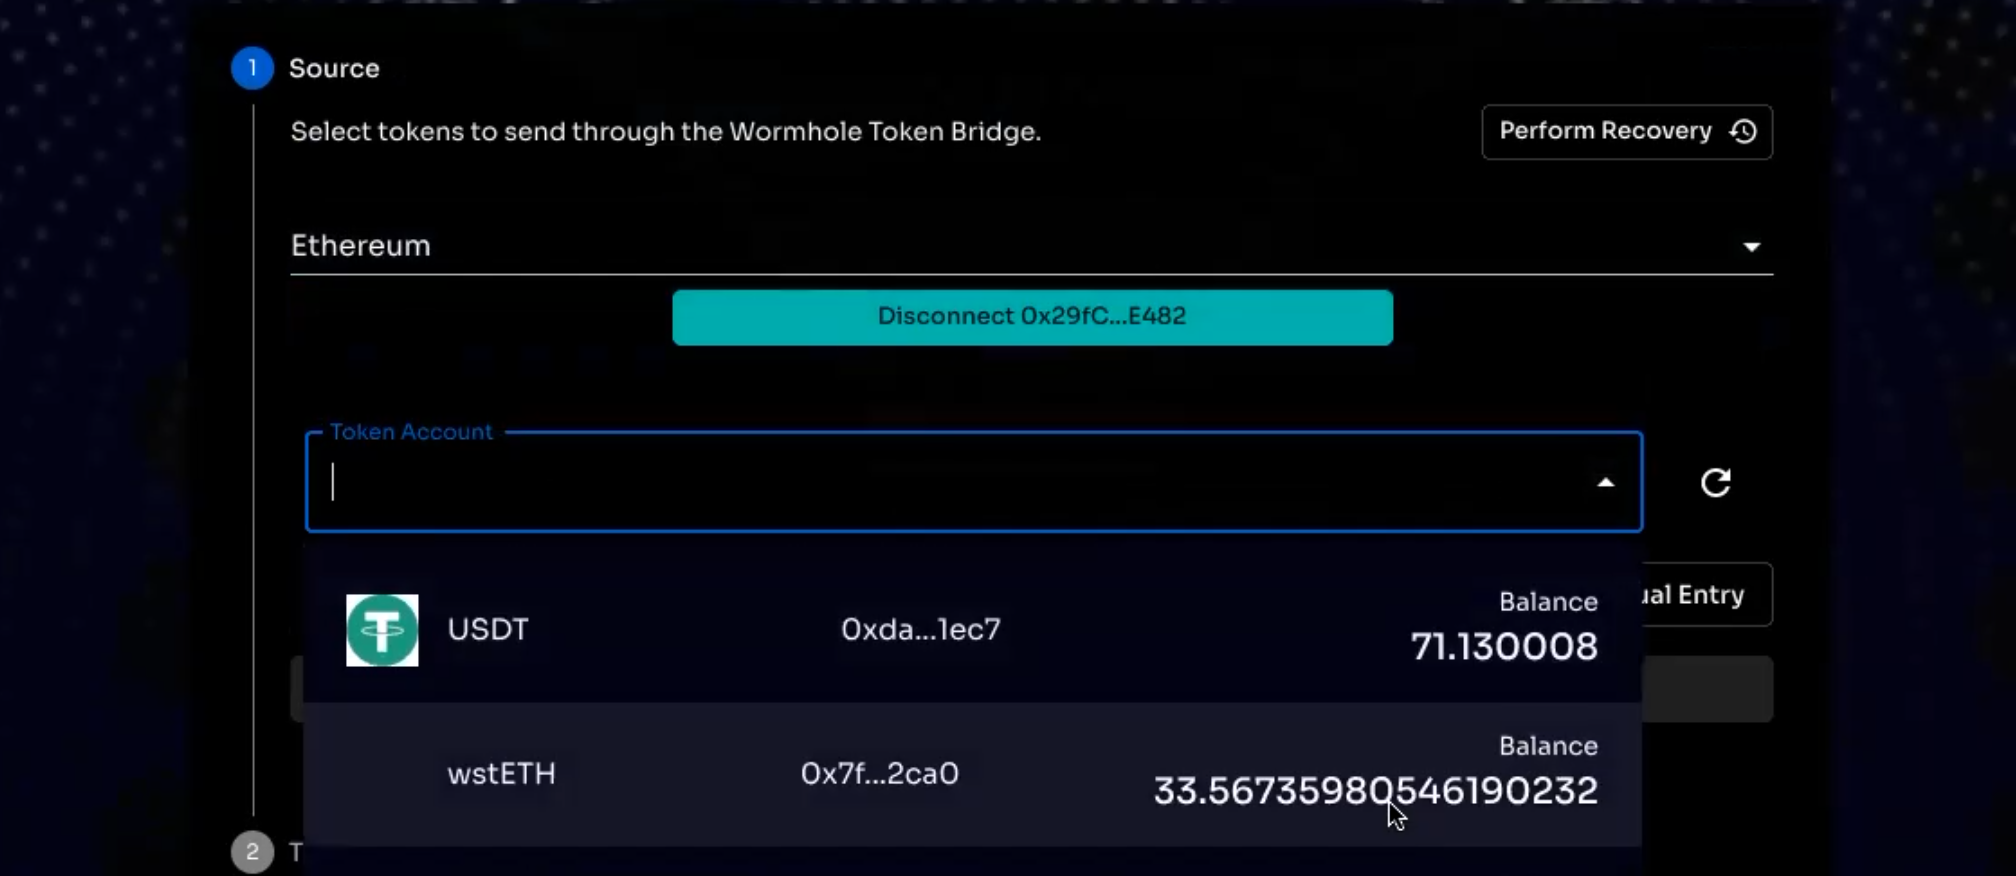
Step 4: Select Token Account - wstETH
After connecting, scroll down to select wstETH in the Token account dropdown. It will display your wstETH balance
Step 5: Enter the amount of wstETH to transfer and click on Next
Unfortunately, you do not get the option to select MAX when filling this amount. So you have to manually type in the amount of wstETH that you need to transfer.
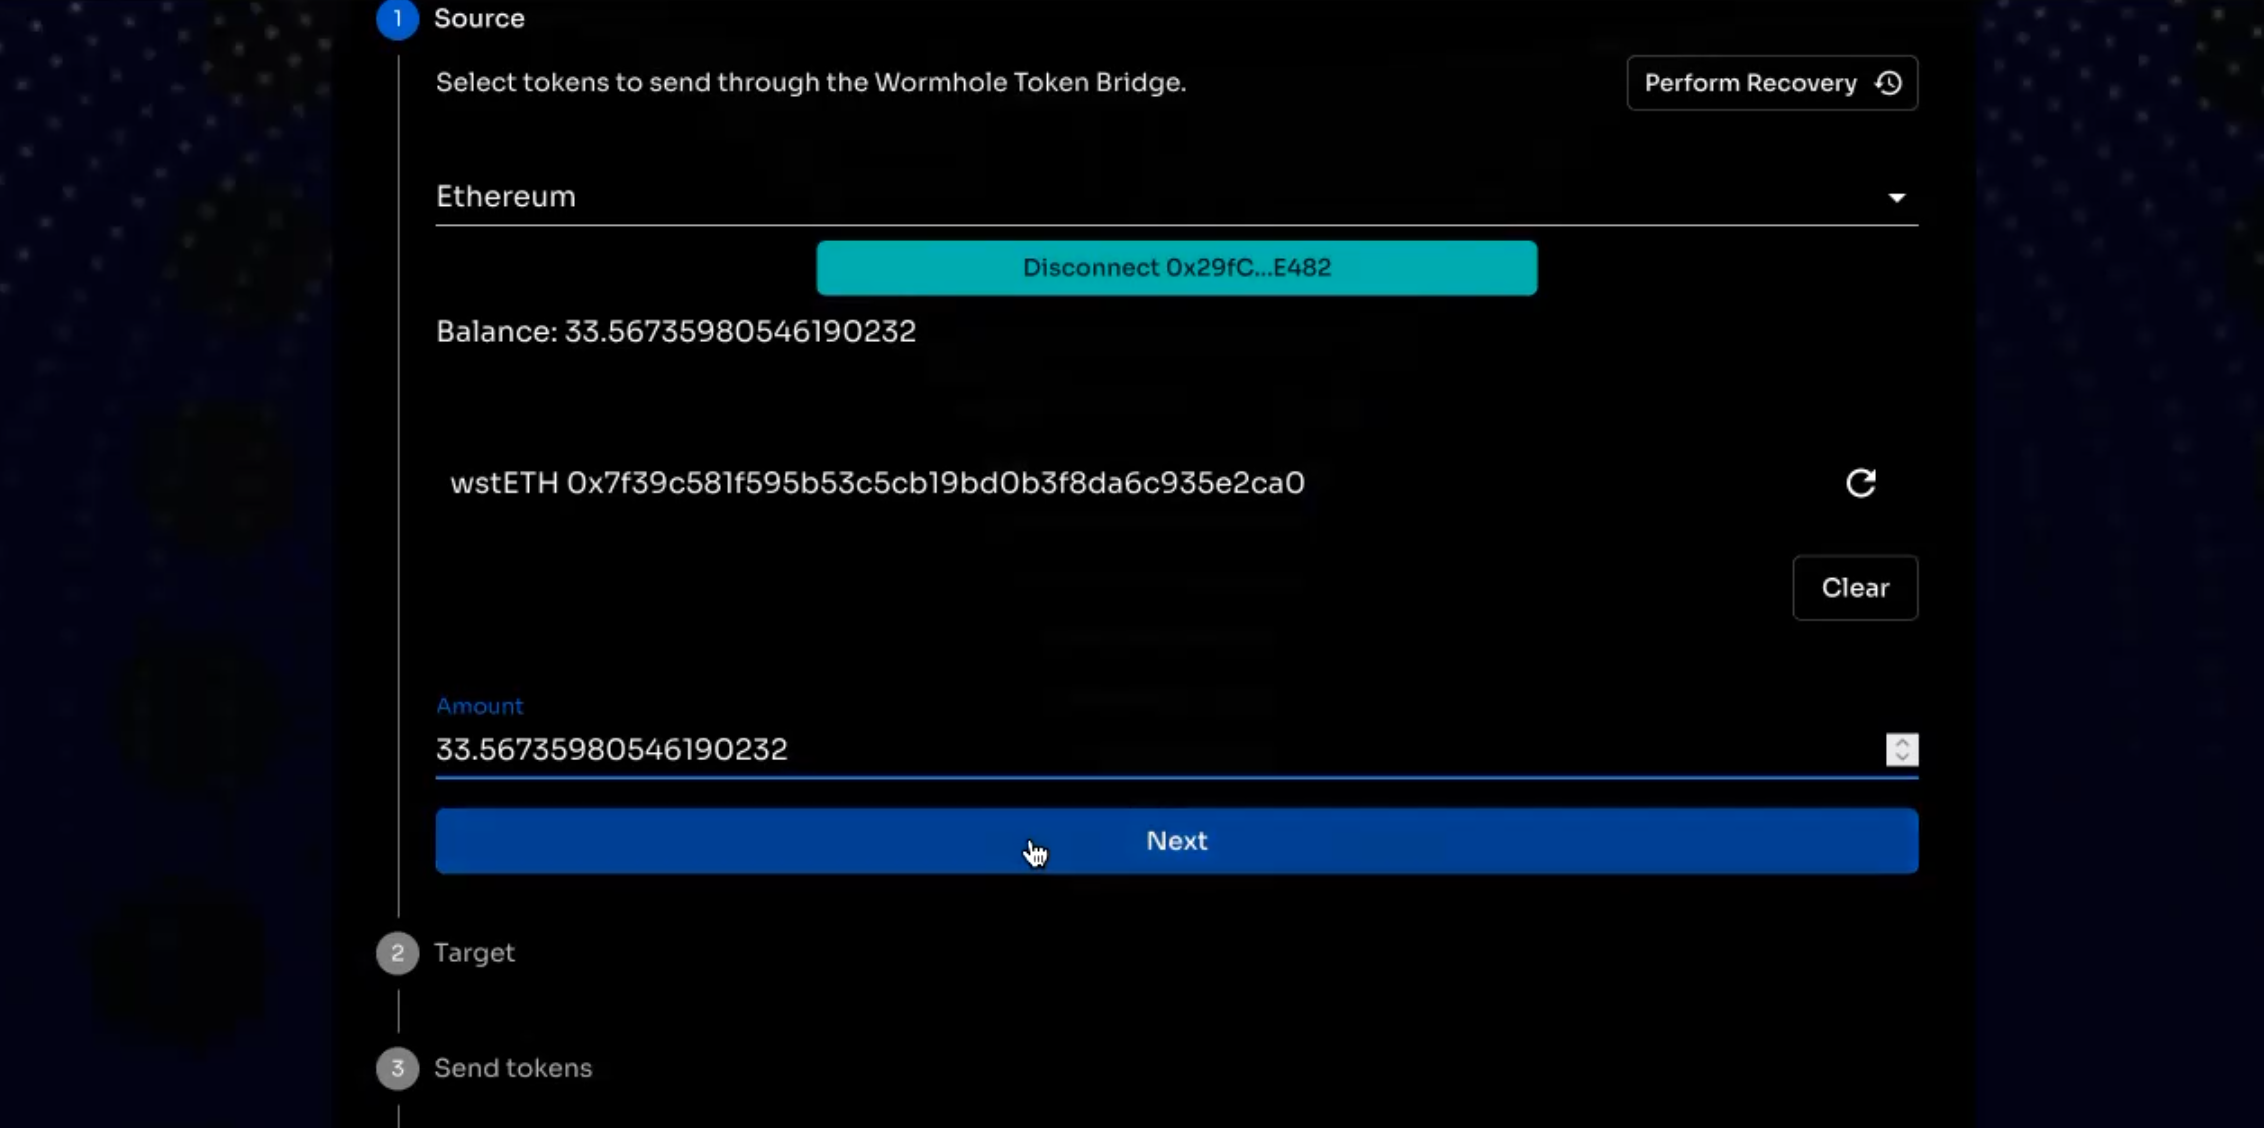
You will be immediately taken to the next step i.e. Target and the first step Source will show up as completed.
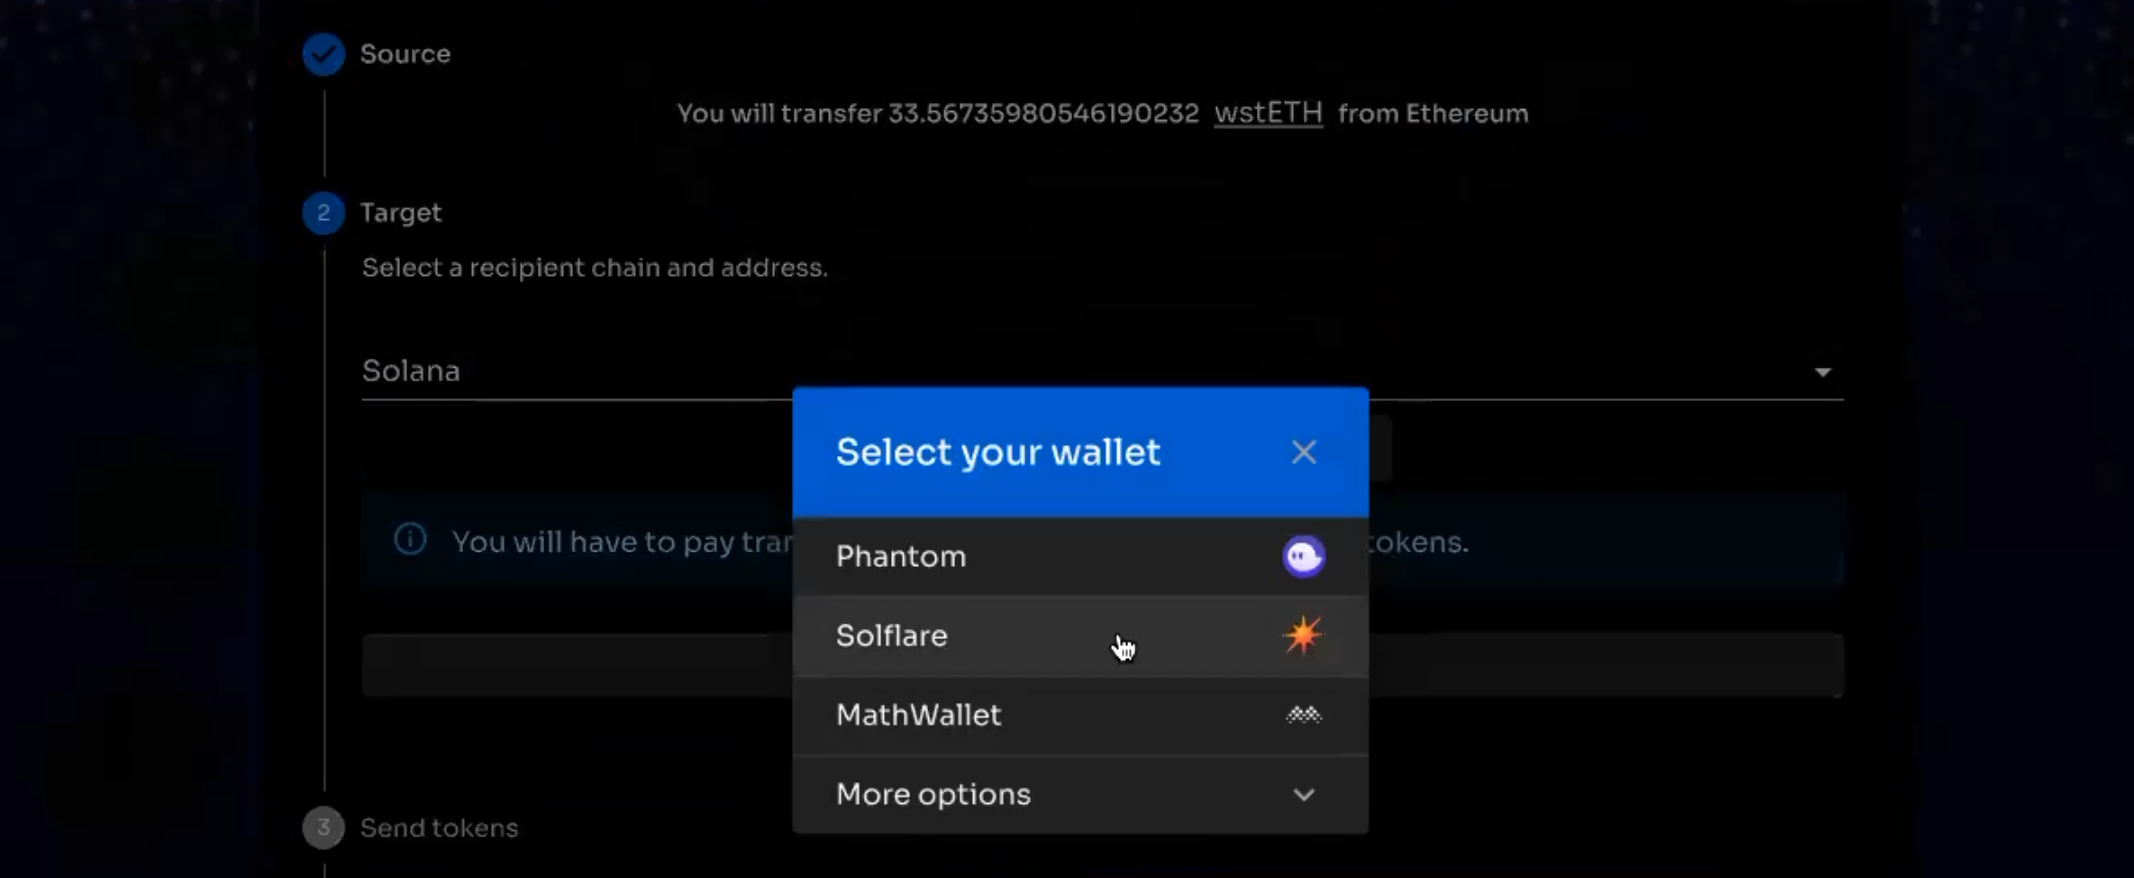
Step 6: Connect Solana Wallet
Under Target, select Solana and click on Select Wallet to connect to your Solana wallet.
From this step onwards, certain transactions will happend on the Solana blockchain. You will need to hold some amount of SOL in your main account for fees (but of course much less than on Ethereum :))
Step 7: Creating Associated Token Account
Once the wallet is connected, your SOL address will start reflecting to the left of the Disconnect button. Every new token in the Solana ecosystem gets assigned an Associated Token Account. This account is automatically created for you once you click on the Create Associated Token Account
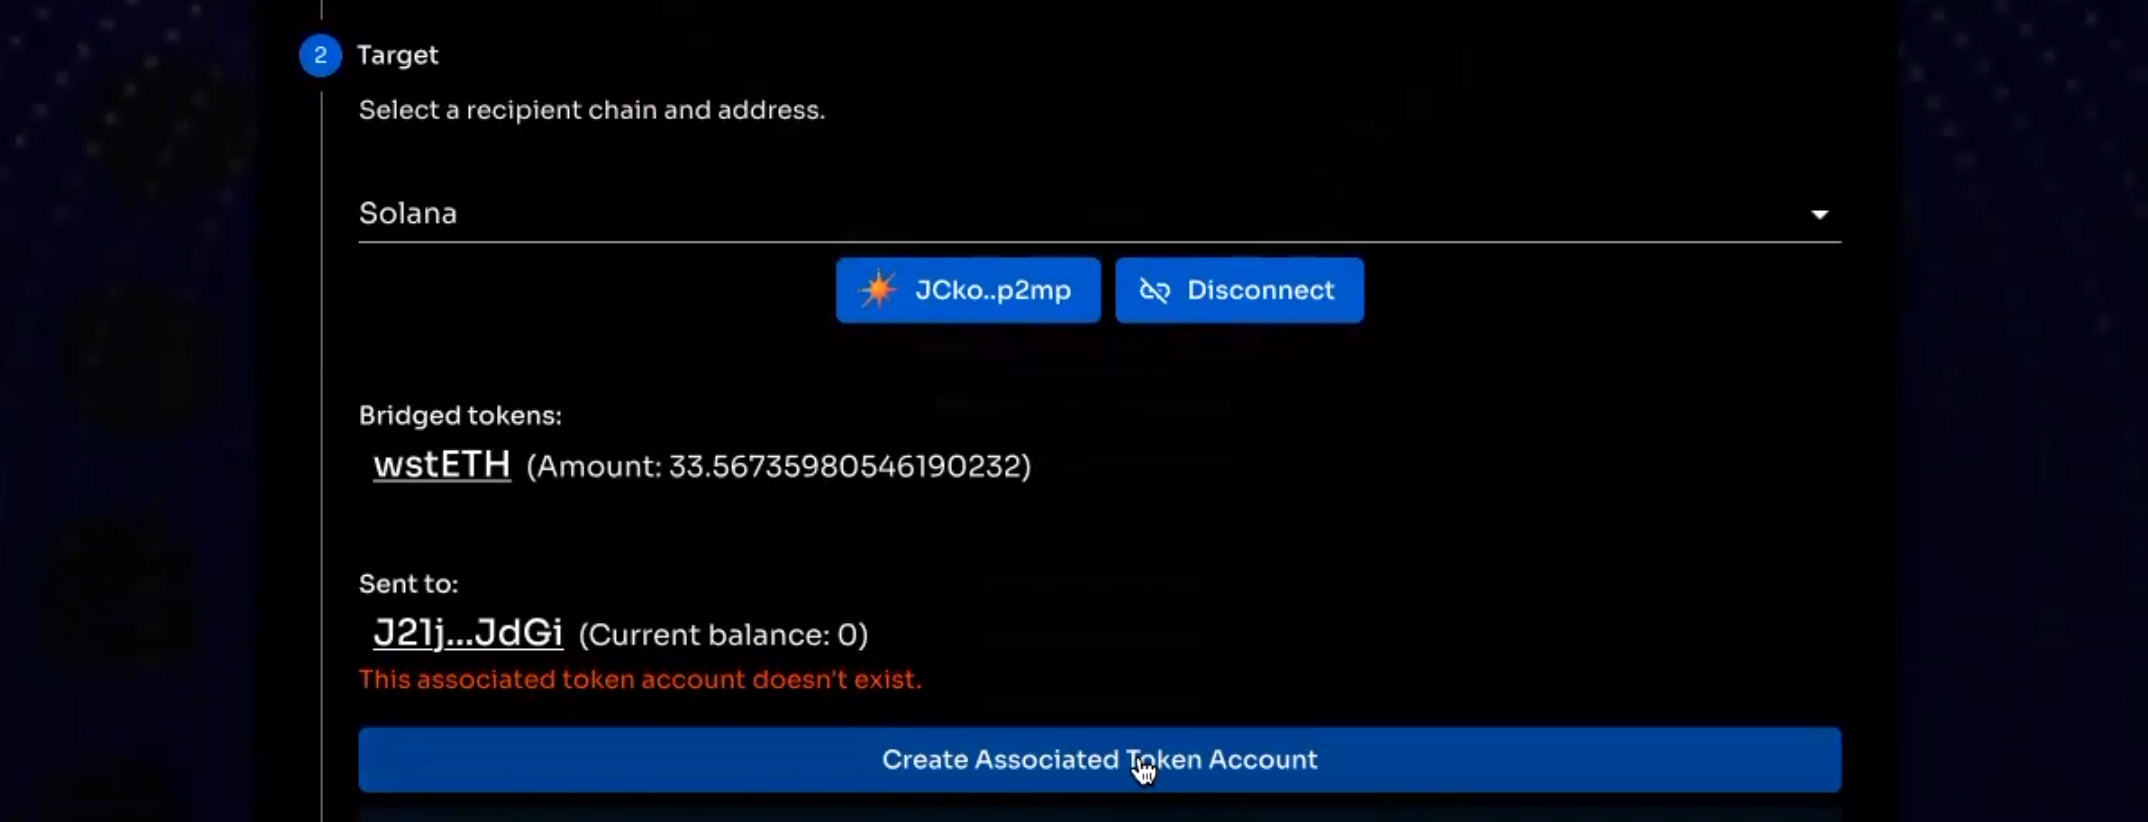
You will have to approve the creation of this account in your Solana wallet.
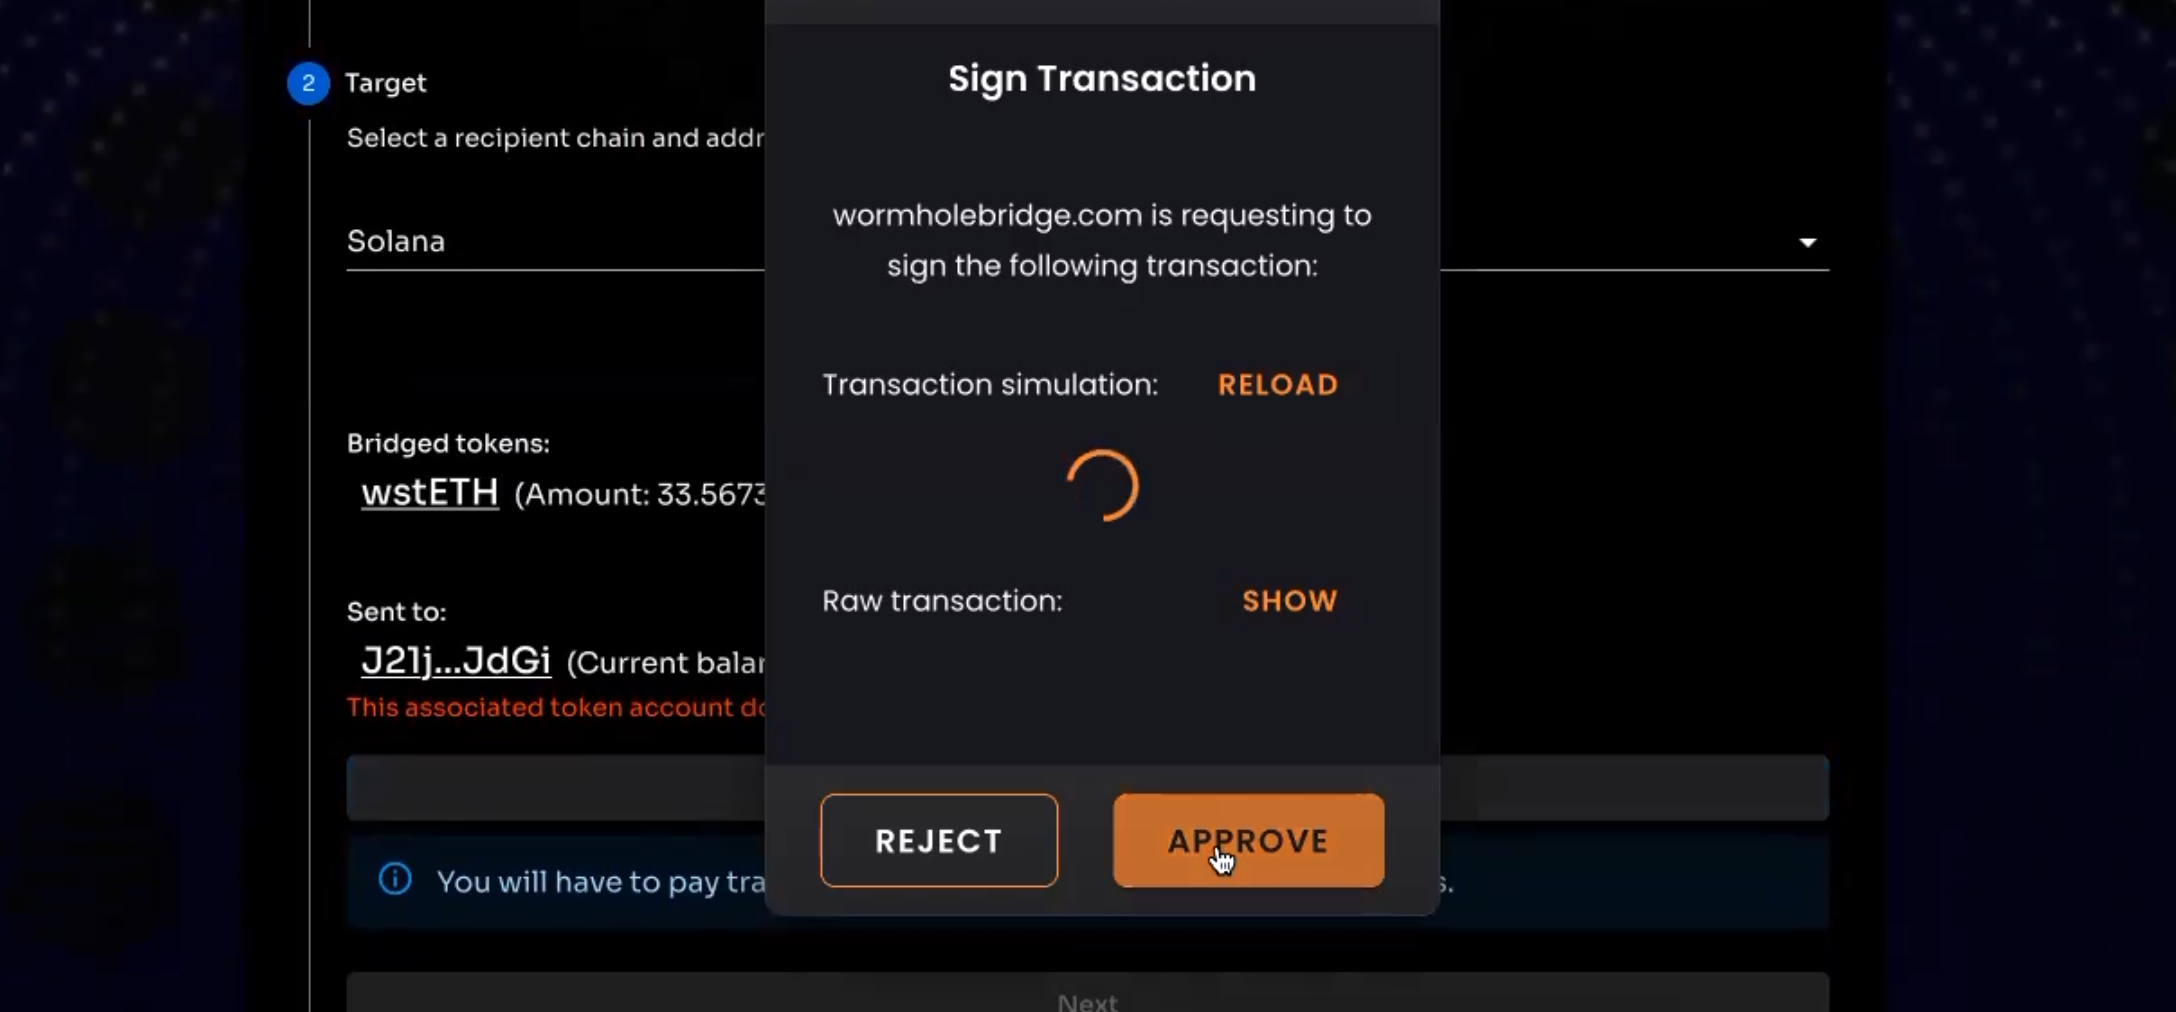
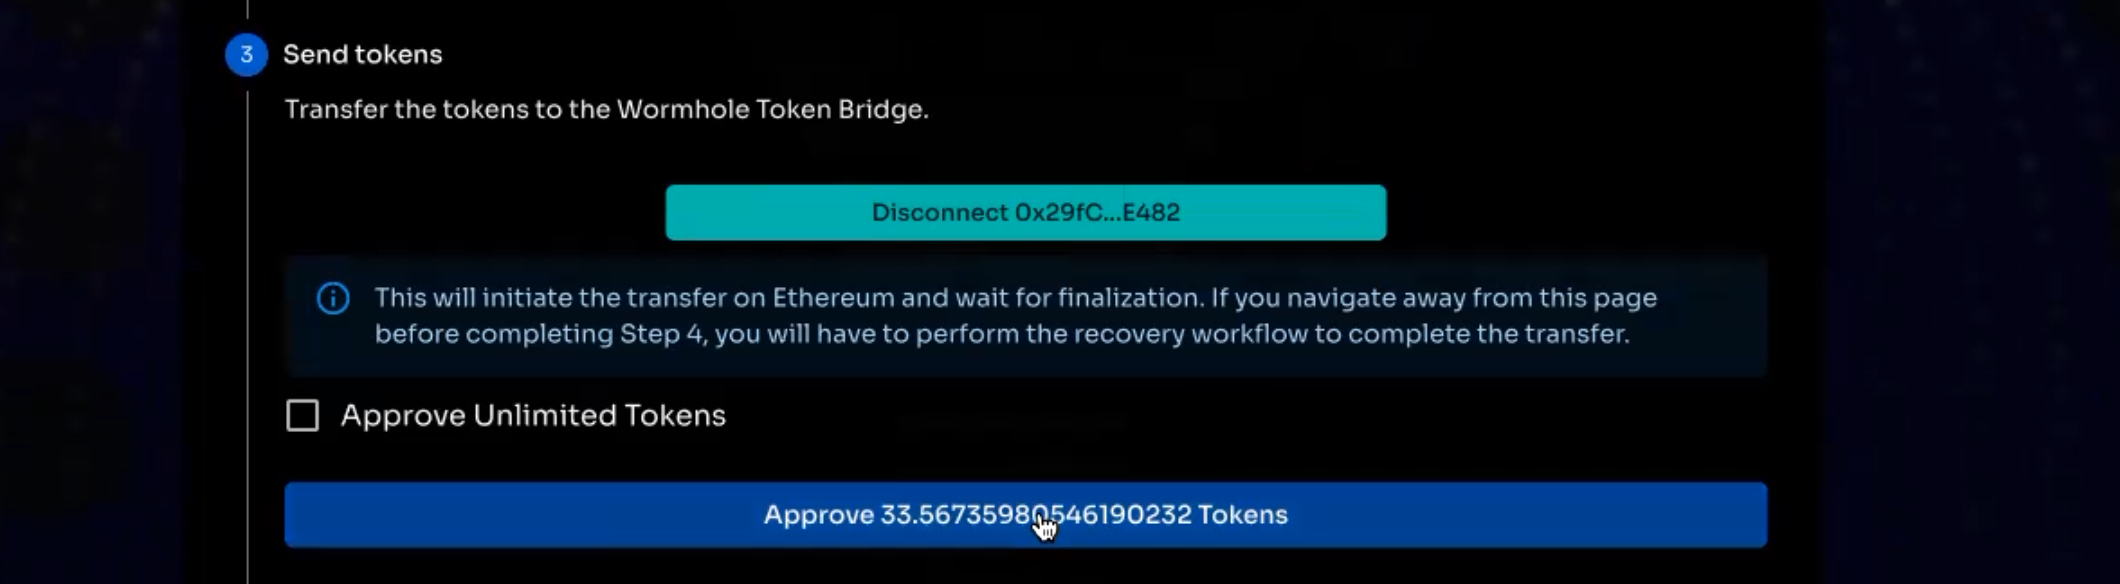
Step 8: Send Tokens
You can now send the tokens through Wormhole to the Solana blockchain.
It is generally not safe to approve unlimited tokens to be sent over Wormhole but if you envision yourself repeating this process multiple times, it might make sense for you to approve unlimited tokens to be transferred.
Approve the transaction in your Ethereum wallet
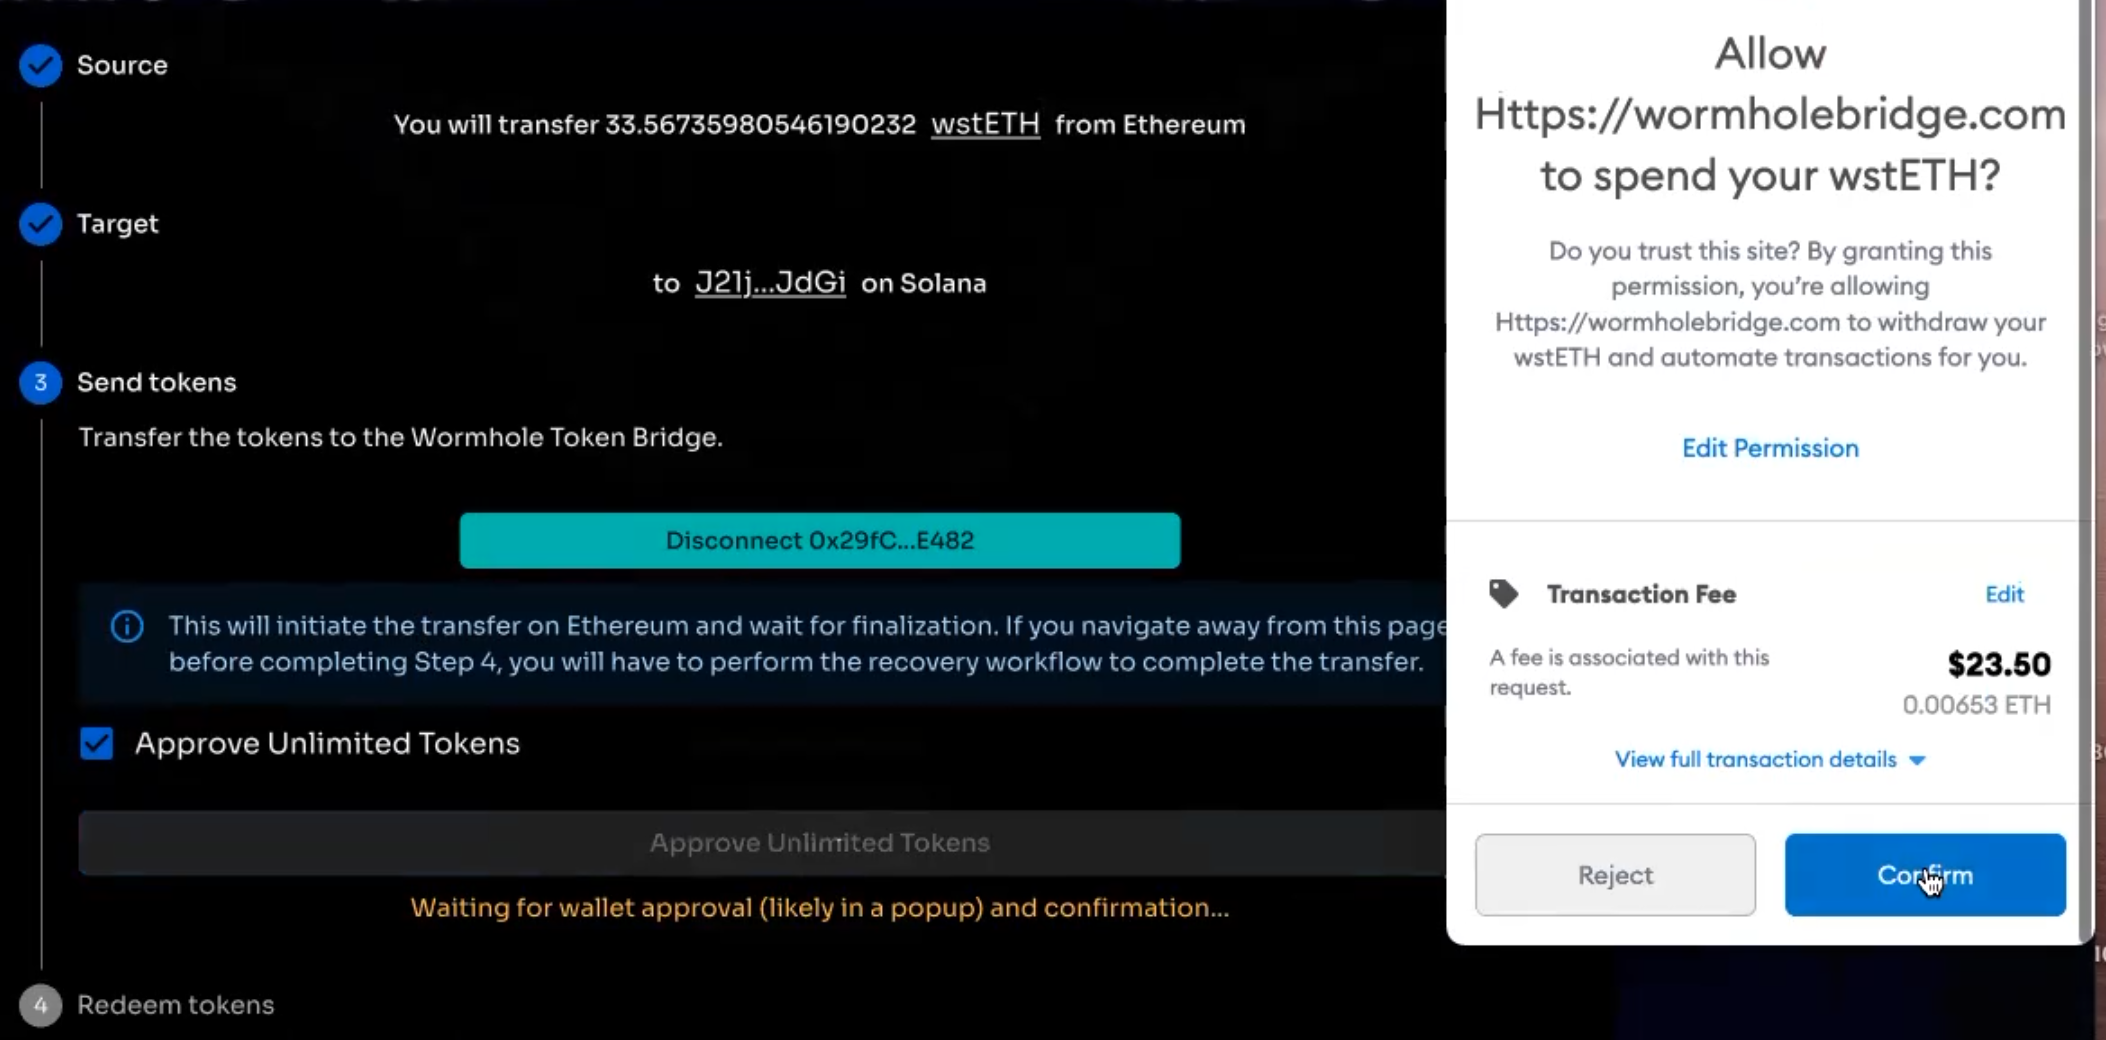
After successful approval, transfer the tokens.

Once this transaction is executed successfully the Wormhole V2 bridge waits for 15 Ethereum confirmations (3-5 minutes) to bridge your token to the Solana blockchain.


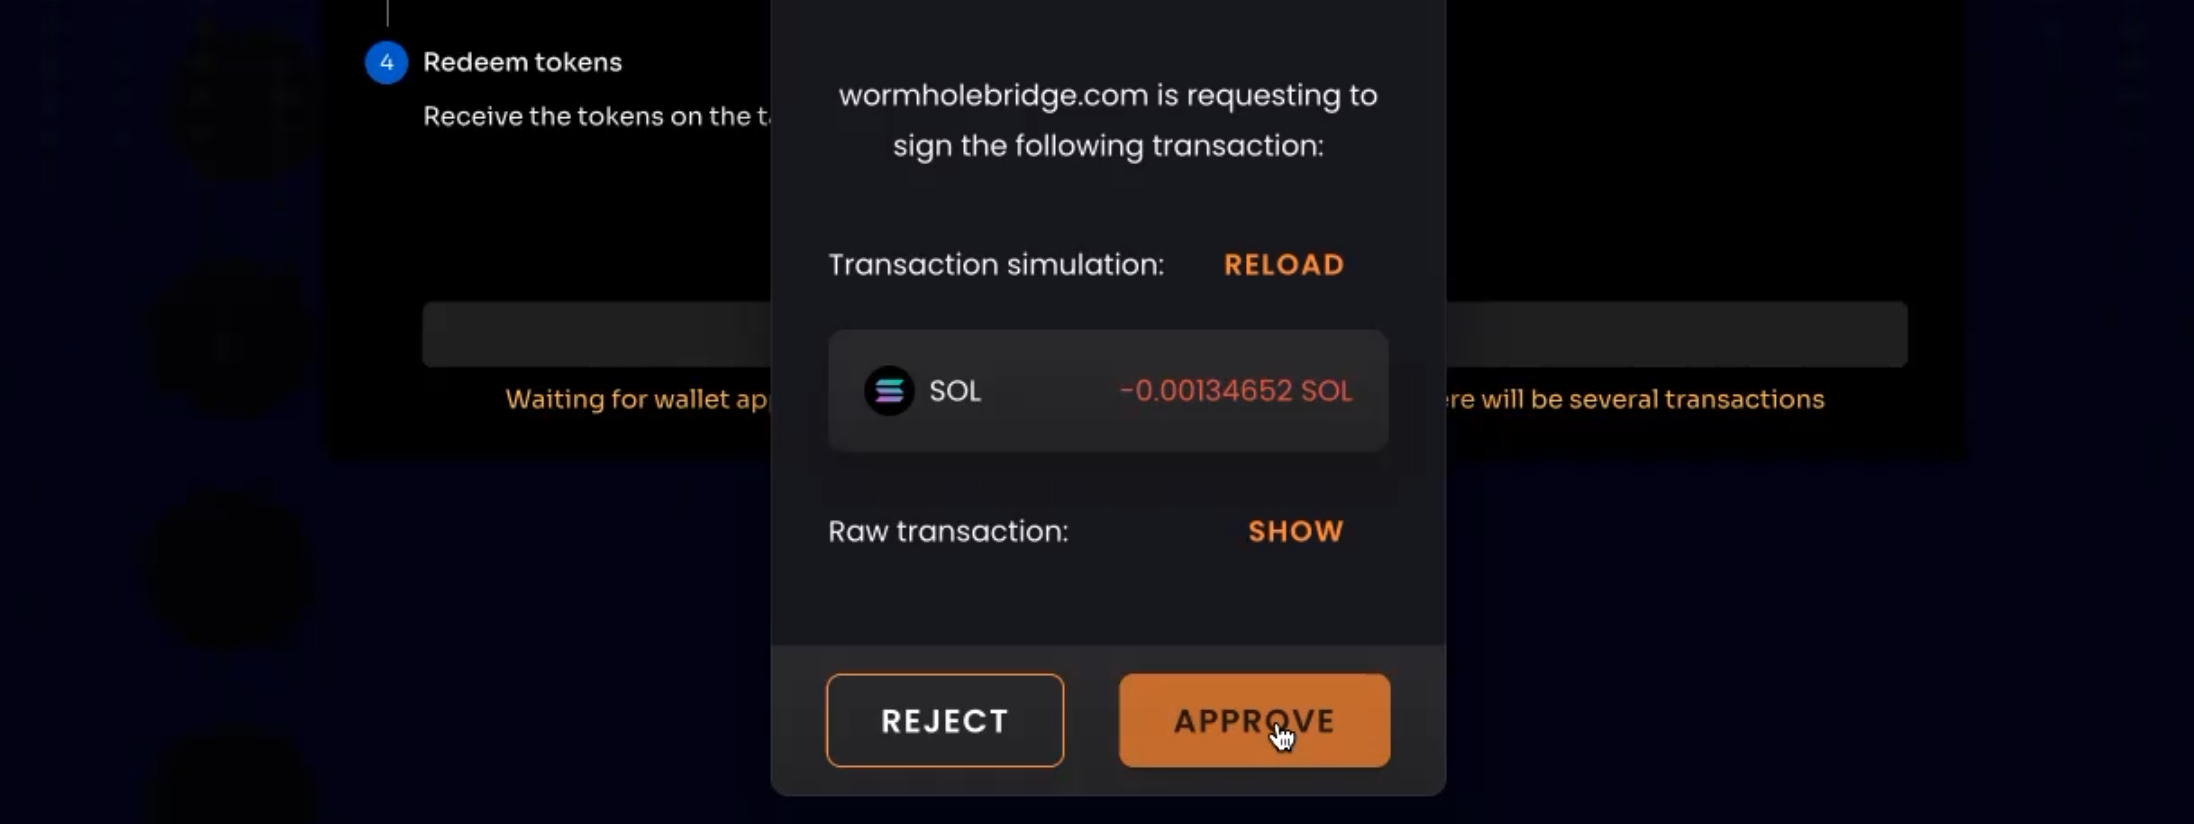
Step 9: Redeem Tokens
Once 15 confirmations happen, you will be able to redeem the corresponding Solana token to your wallet. The Solana equivalent of the ERC-20 wstETH is also called wstETH.

You will be required to Approve multiple transactions to complete the token redemption process. Click on the Approve button every time the wallet screen pops up until the process is completed. You might have to approve 4-5 times.
If you are using Ledger to approve the Solana transactions, you will need to check the option Allow Blind Signing. So the process will be
- Allow Blind Signatures
- Click on Approve button on the screen
- Finally, approve in the Ledger
After successful approvals, you will finally see the following on the screen

Step 10: Connect to the Orca Pool
Congratulations! You are now the proud owner of wstETH on Solana!
In case you do not have stSOL at this point head over to the following guides to stake your SOL and acquire some stSOL
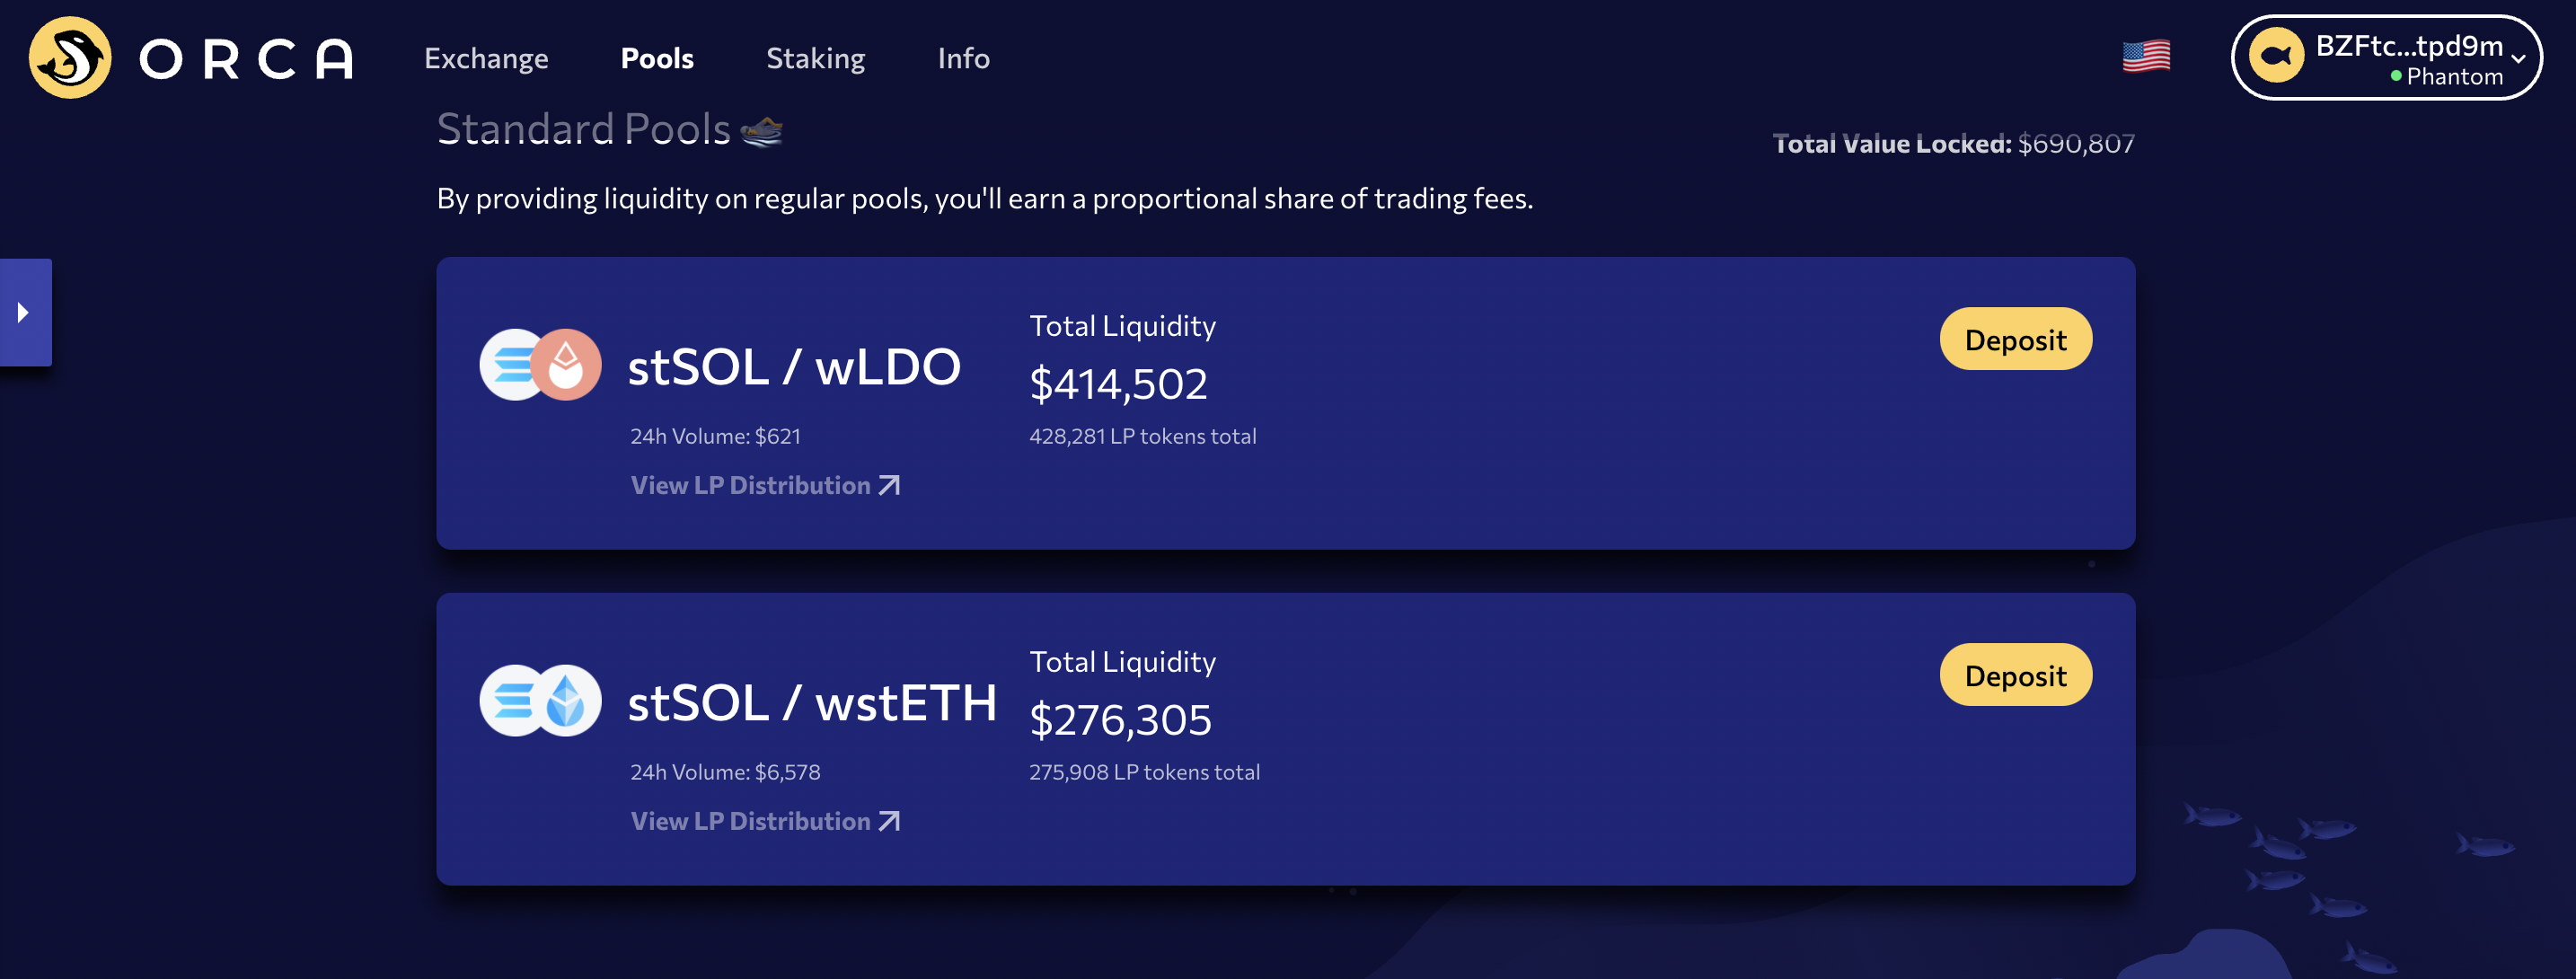
Assuming that you have both stSOL and wstETH you can now deposit these to the Orca Pool. Click on the link and scroll to (or search for stSOL) the stSOL-wstETH pool.
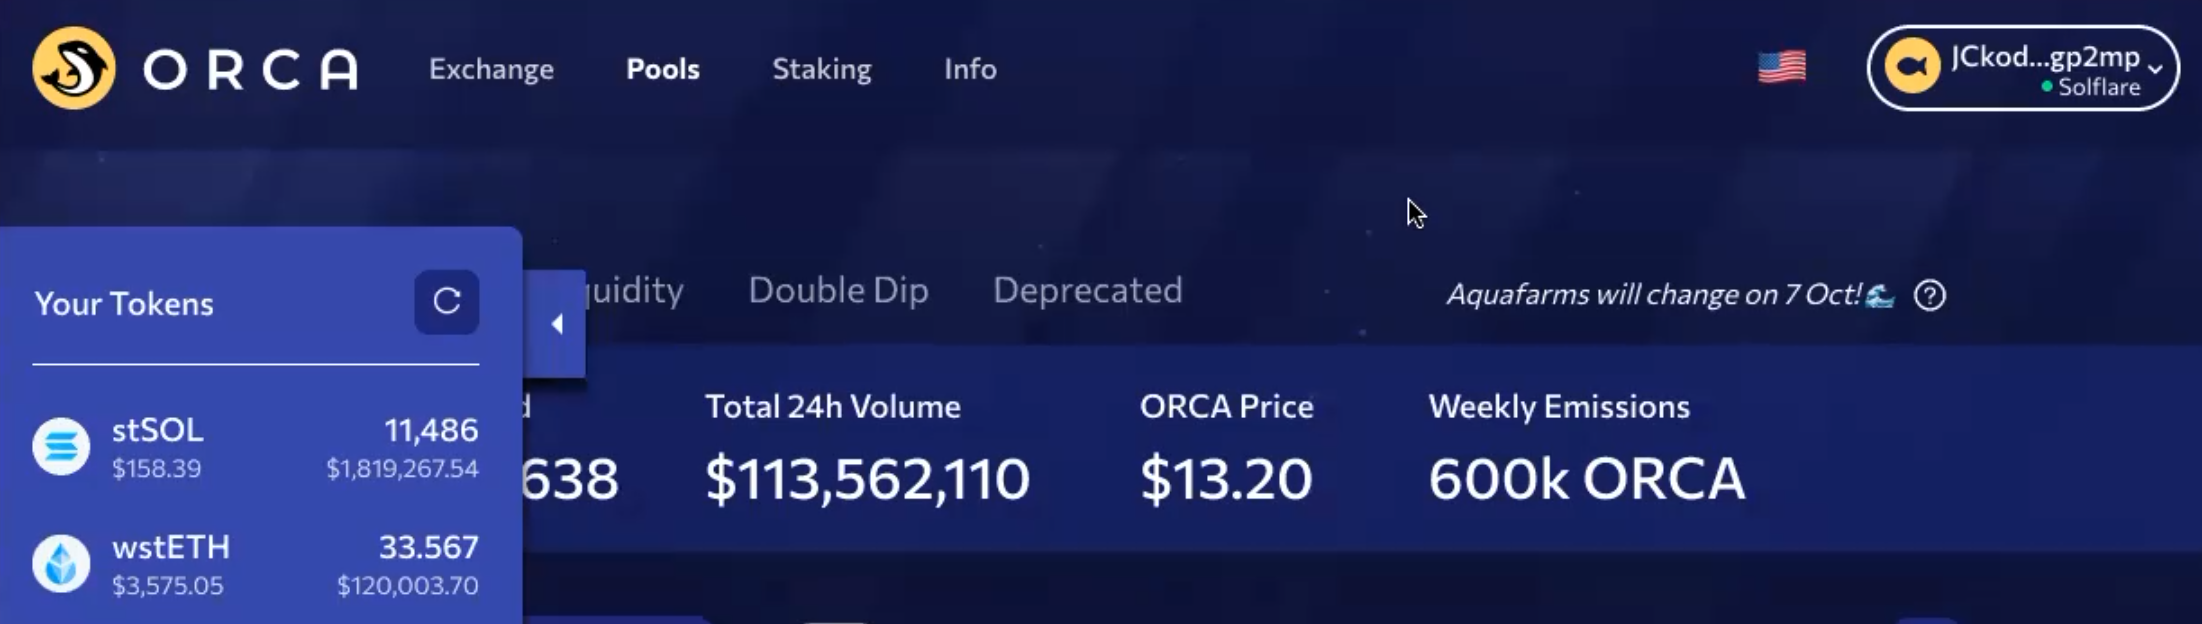
Before you can deposit you need to connect Orca to your Solana wallet
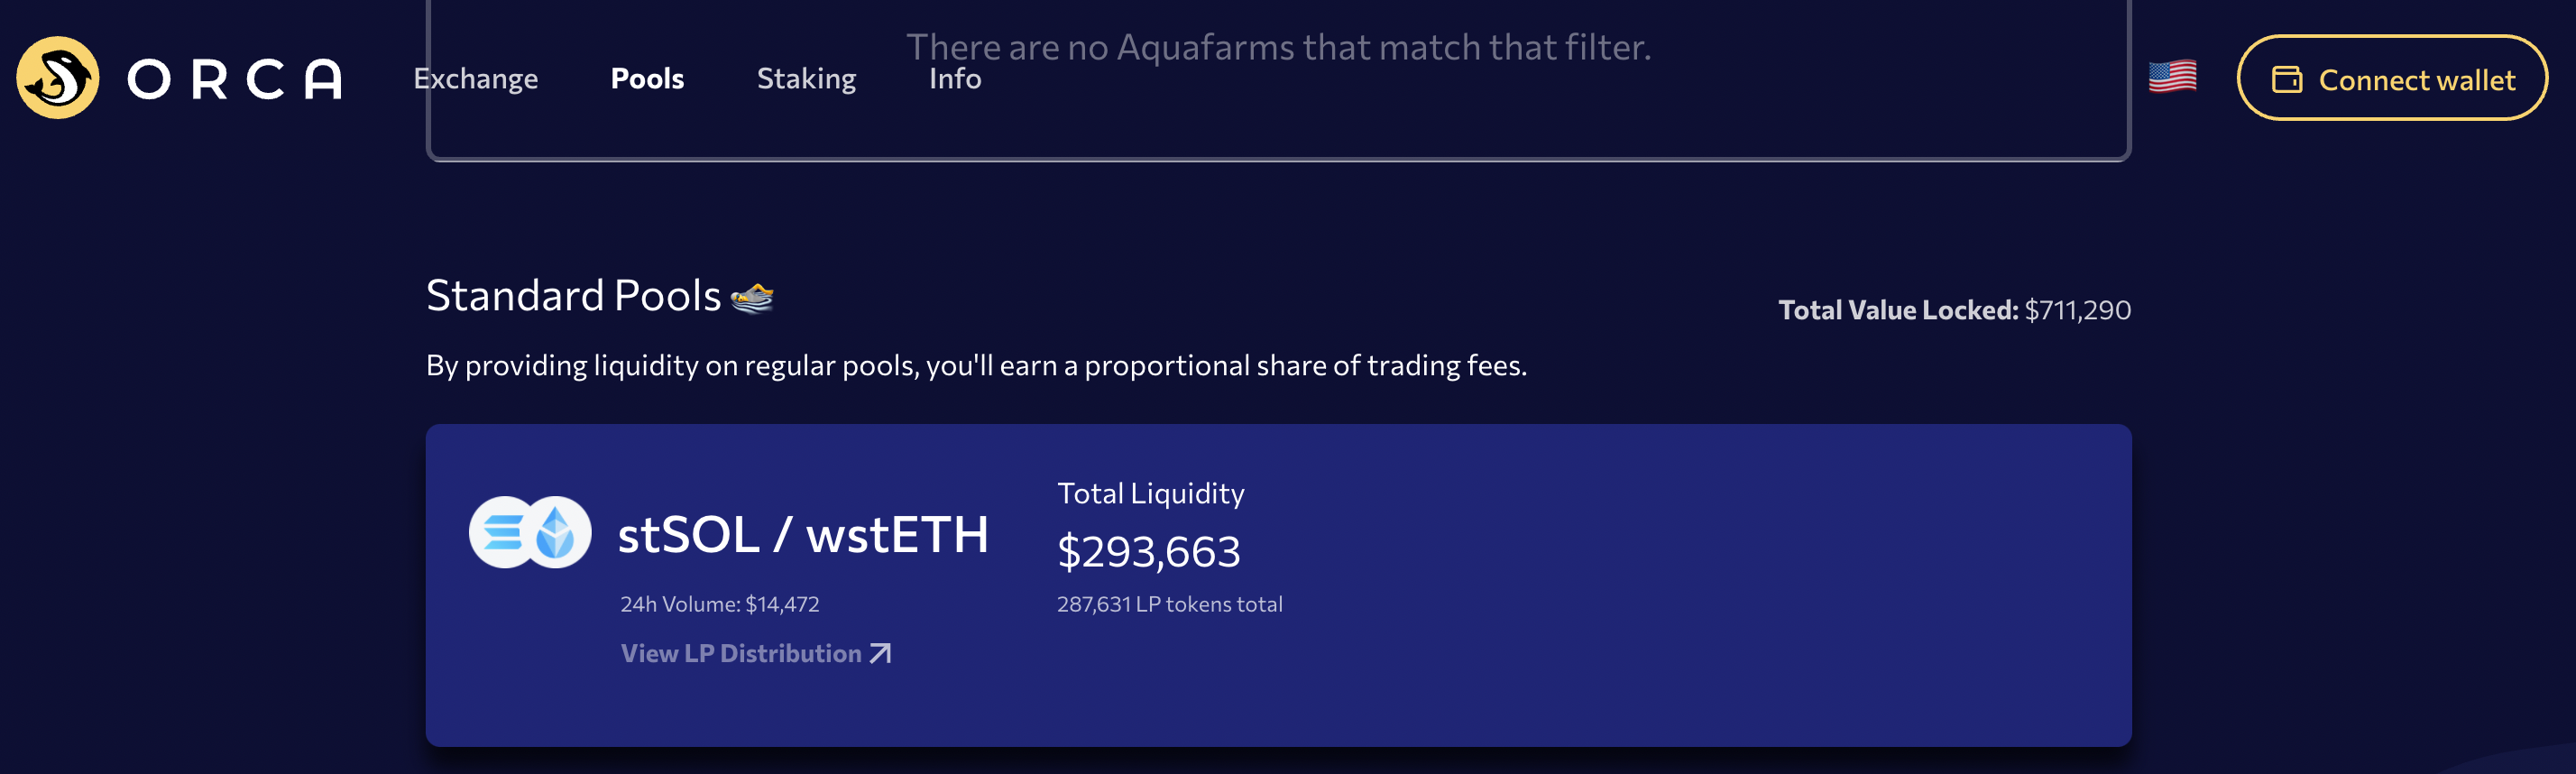
Orca shows you your token balance as well.
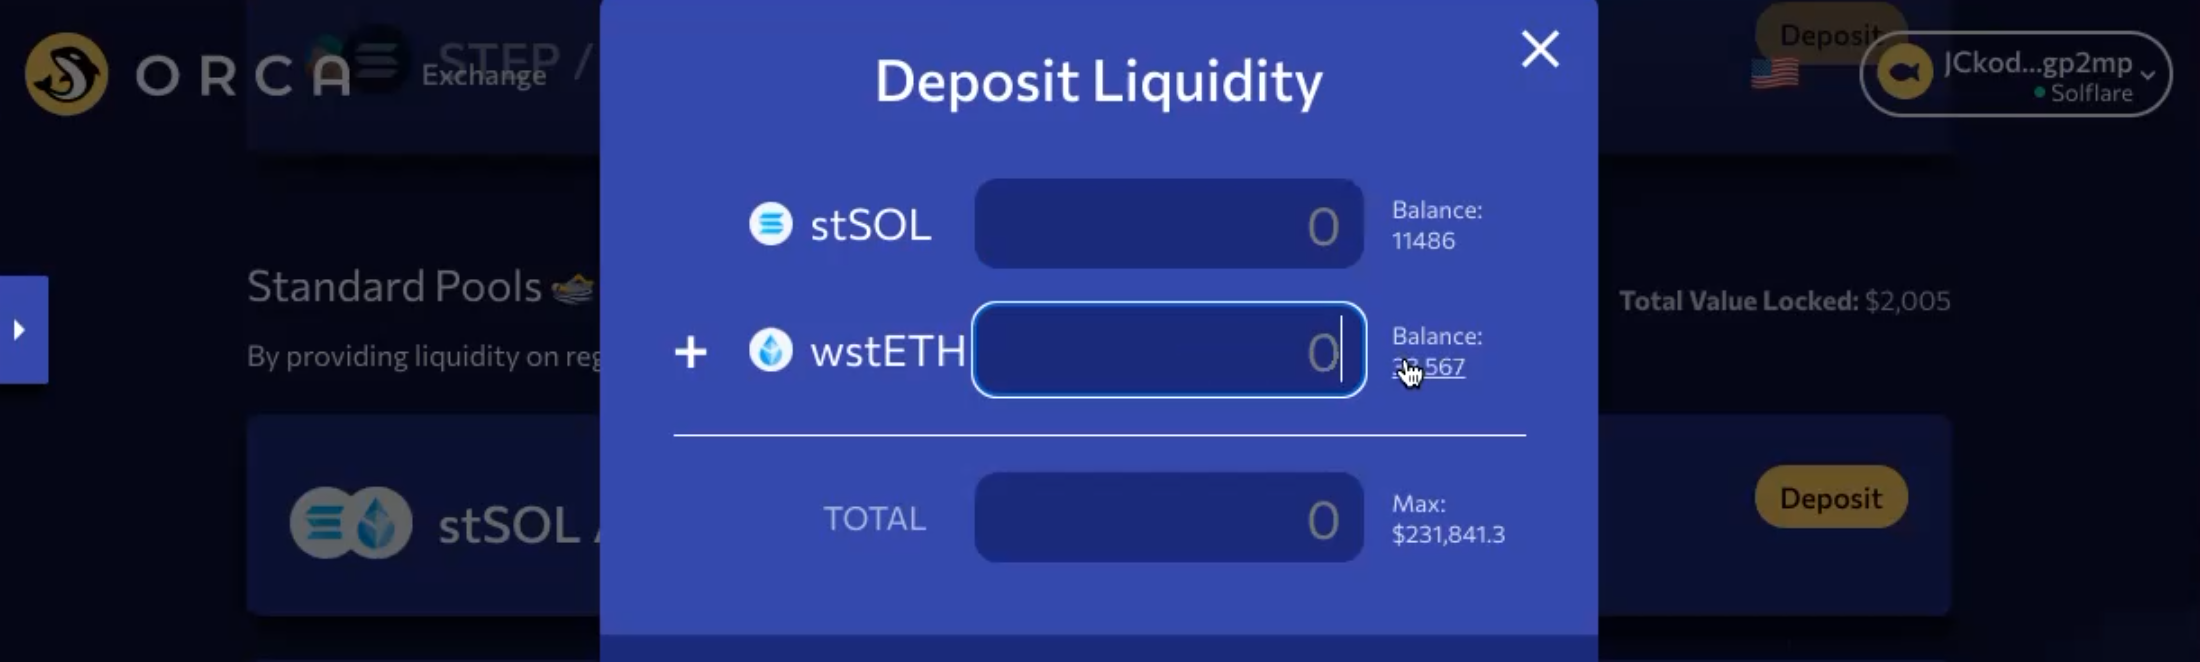
Step 11: Deposit Tokens to the Orca Pool
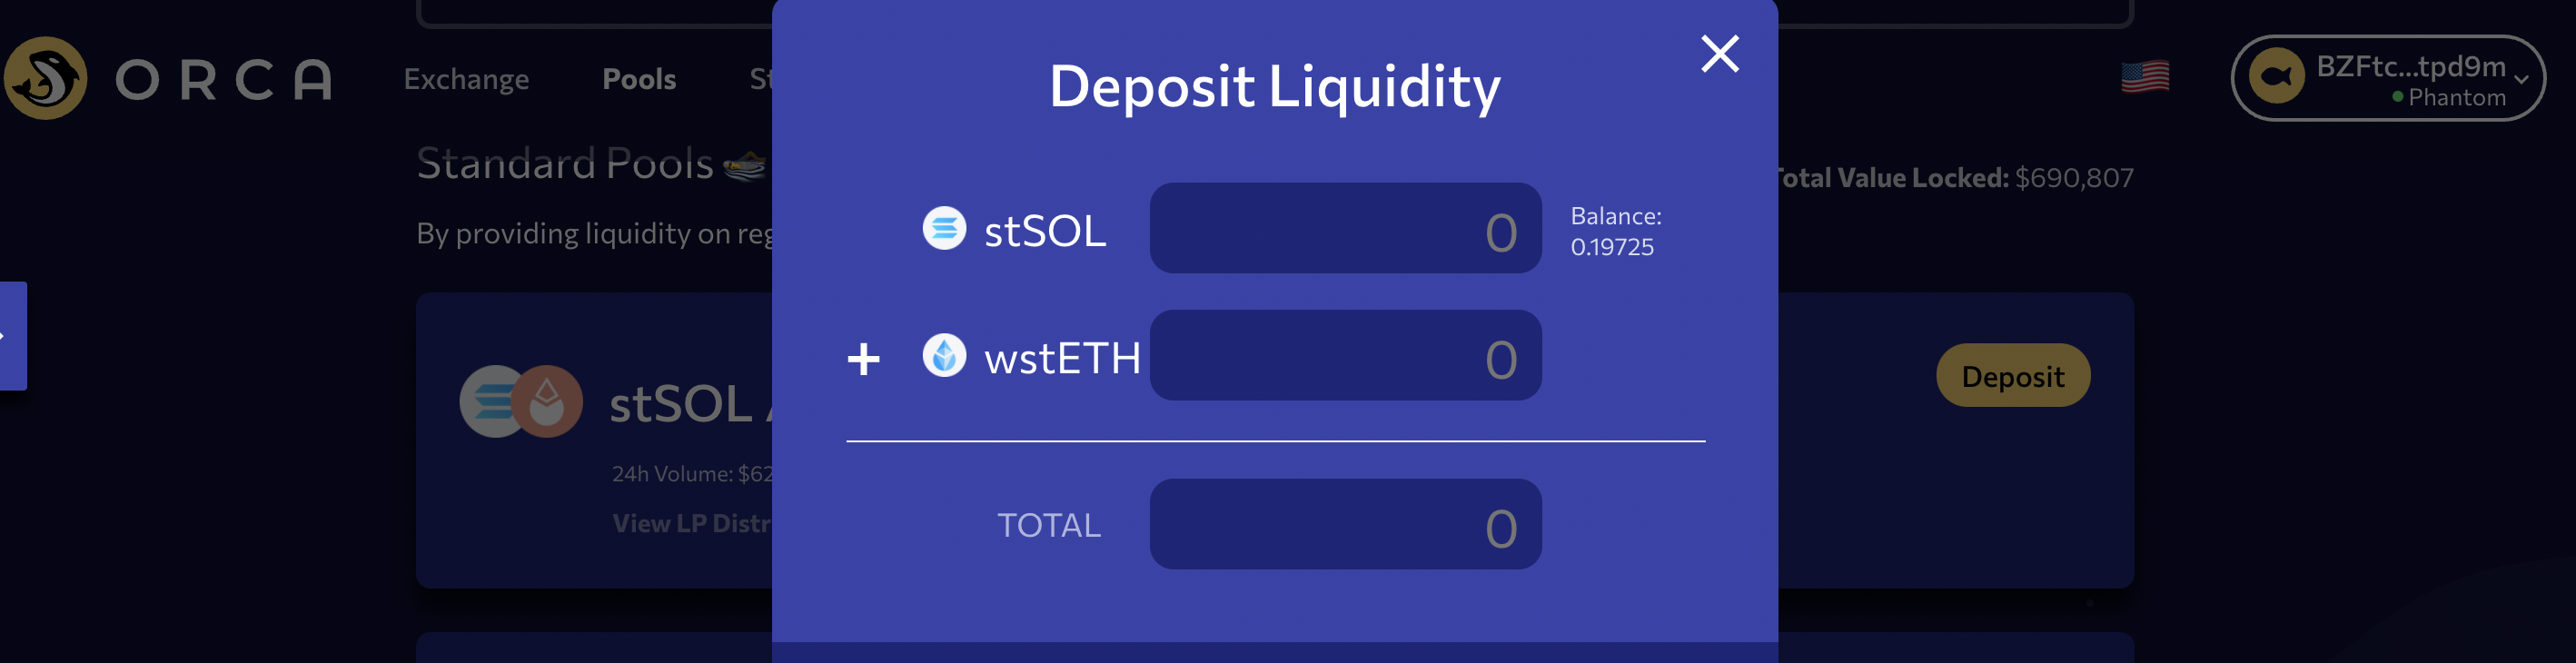
Finally, you may click on the Deposit button next to the pool and enter the amount of liquidity of stSOL and wstETH that you want to add.

Alternatively, just click on the MAX amount next to either of the tokens and Orca app will pre-fill both the token values according to the prevailing exchange rate on the AMM.
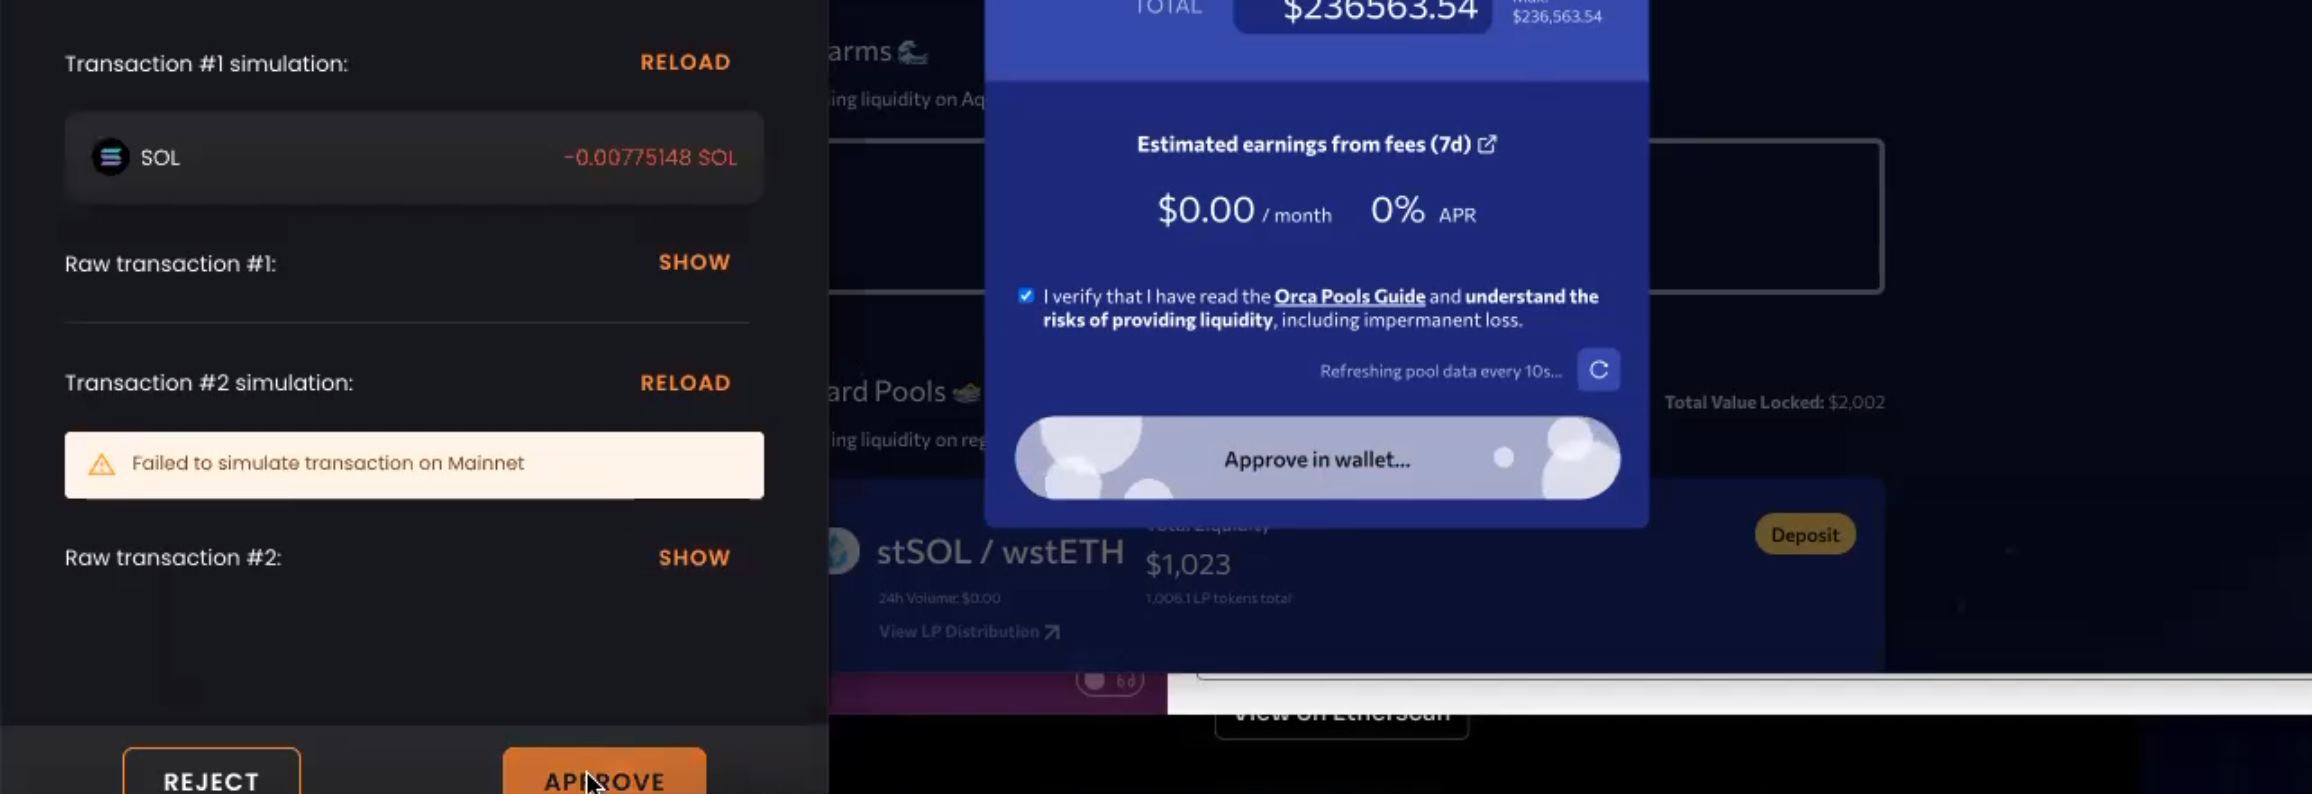
After filling-in the amounts check the I verify checkbox and click on Deposit
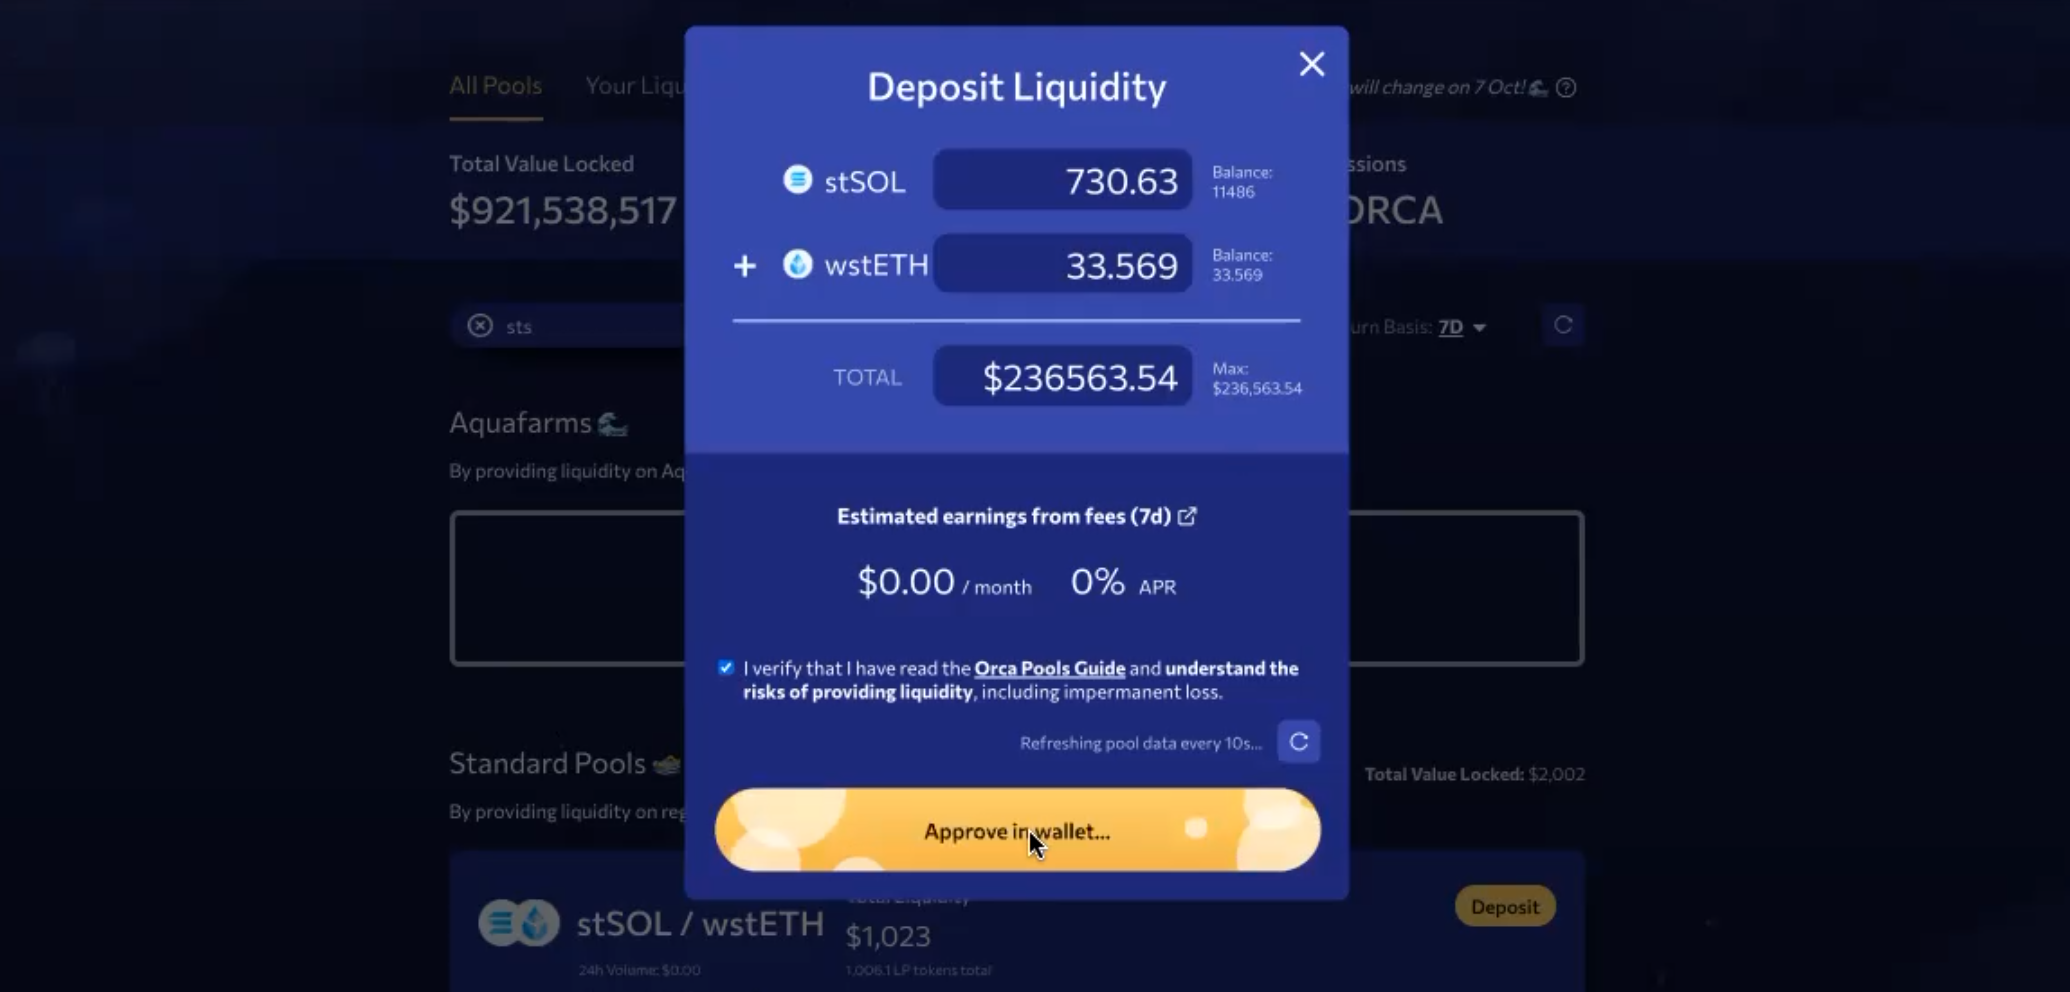
Approve the deposit transaction in the wallet and wait for the successfull completion of the transaction.
You've now successfully deposited both the tokens.

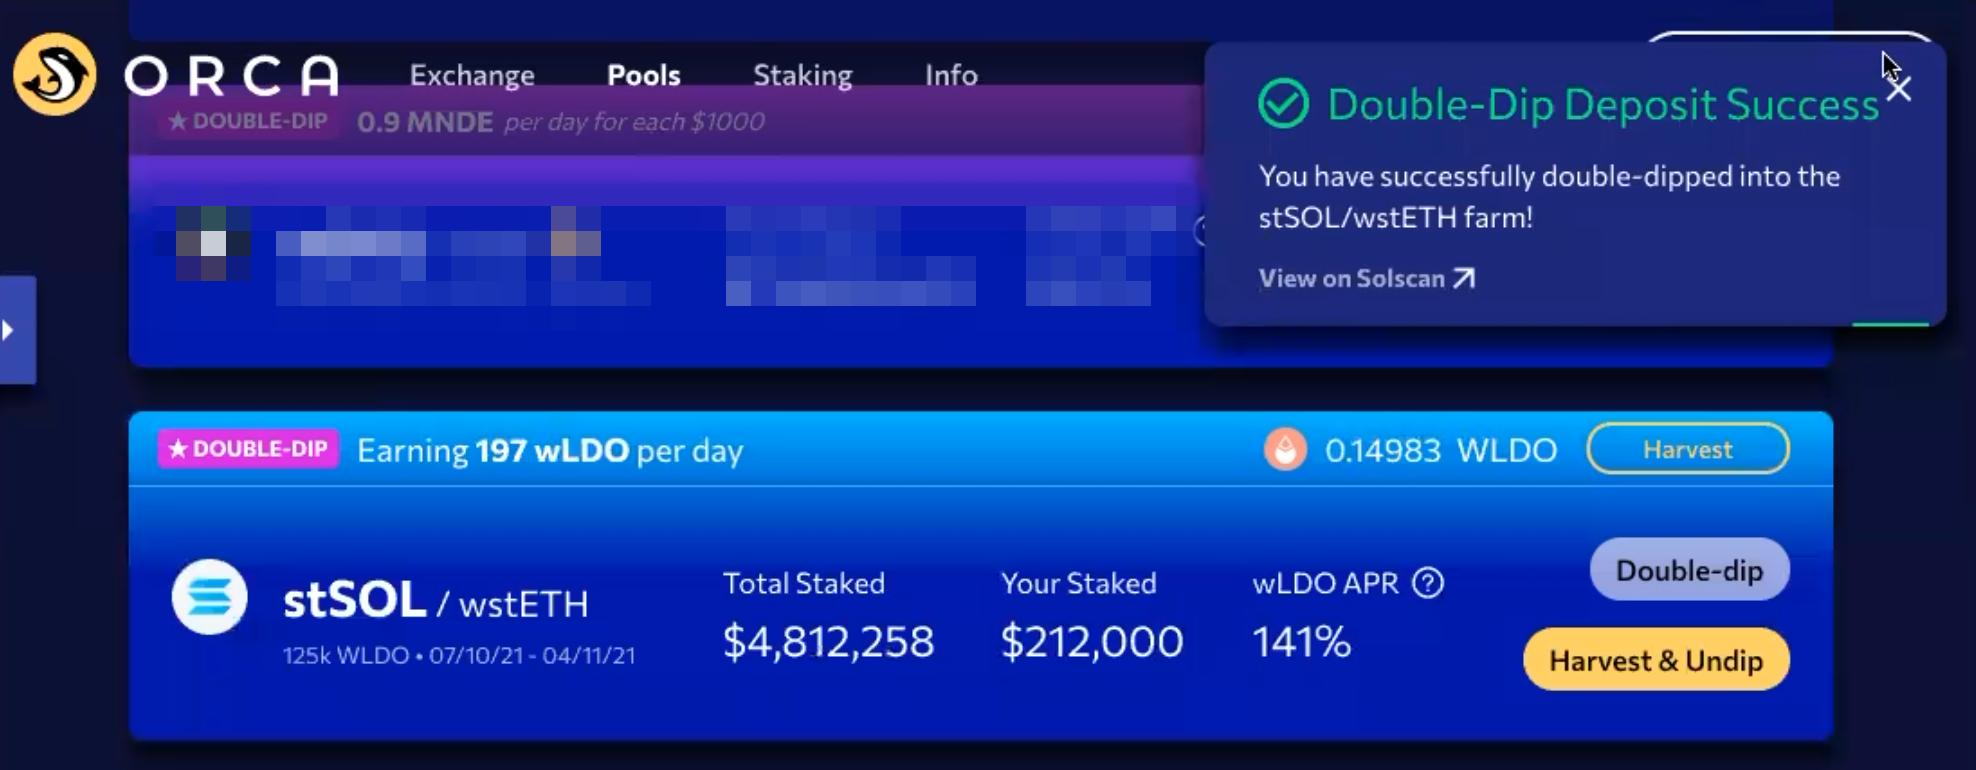
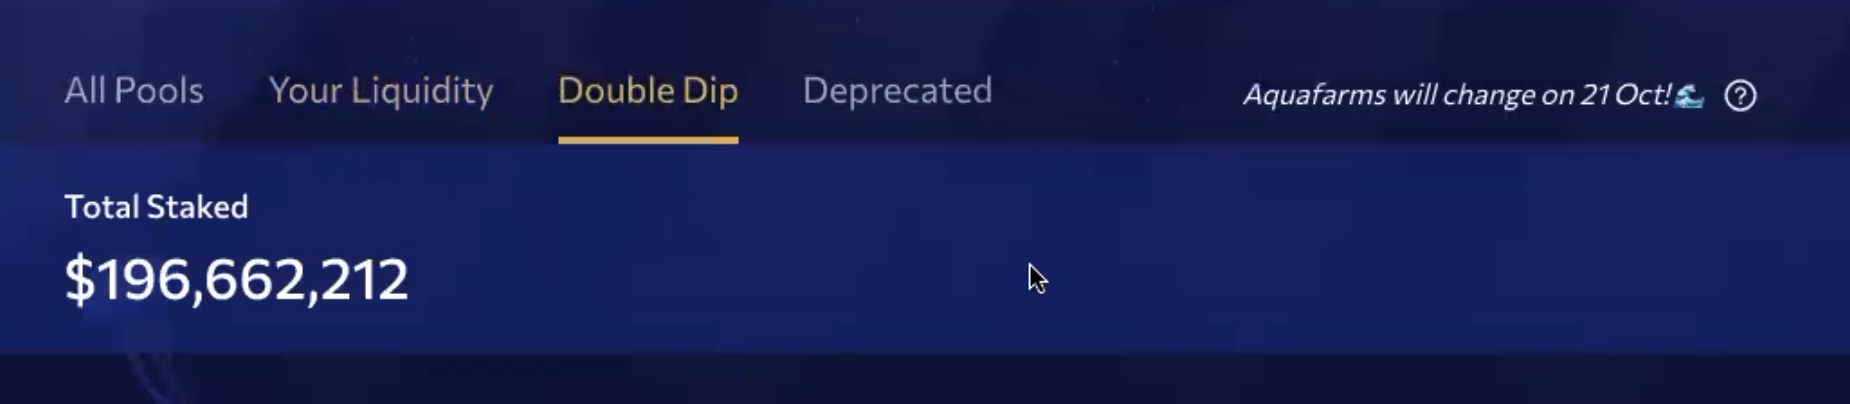
Step 12: Earn extra rewards from Orca Double-Dip
Once you've deposited in the Orca Pool you will become eligible to earn further rewards through Orca Double Dipping. Go to the tab Double Dip, it should be right next to the Your Liquidity tab.
Search for the stSOL-wstETH pool and click on Double-dip.


After you approve the double dipping transaction, you will see that you immediately start earning wLDO tokens as well. Sit back, relax and enjoy the rewards!